
Making my own watercolour sketchbook
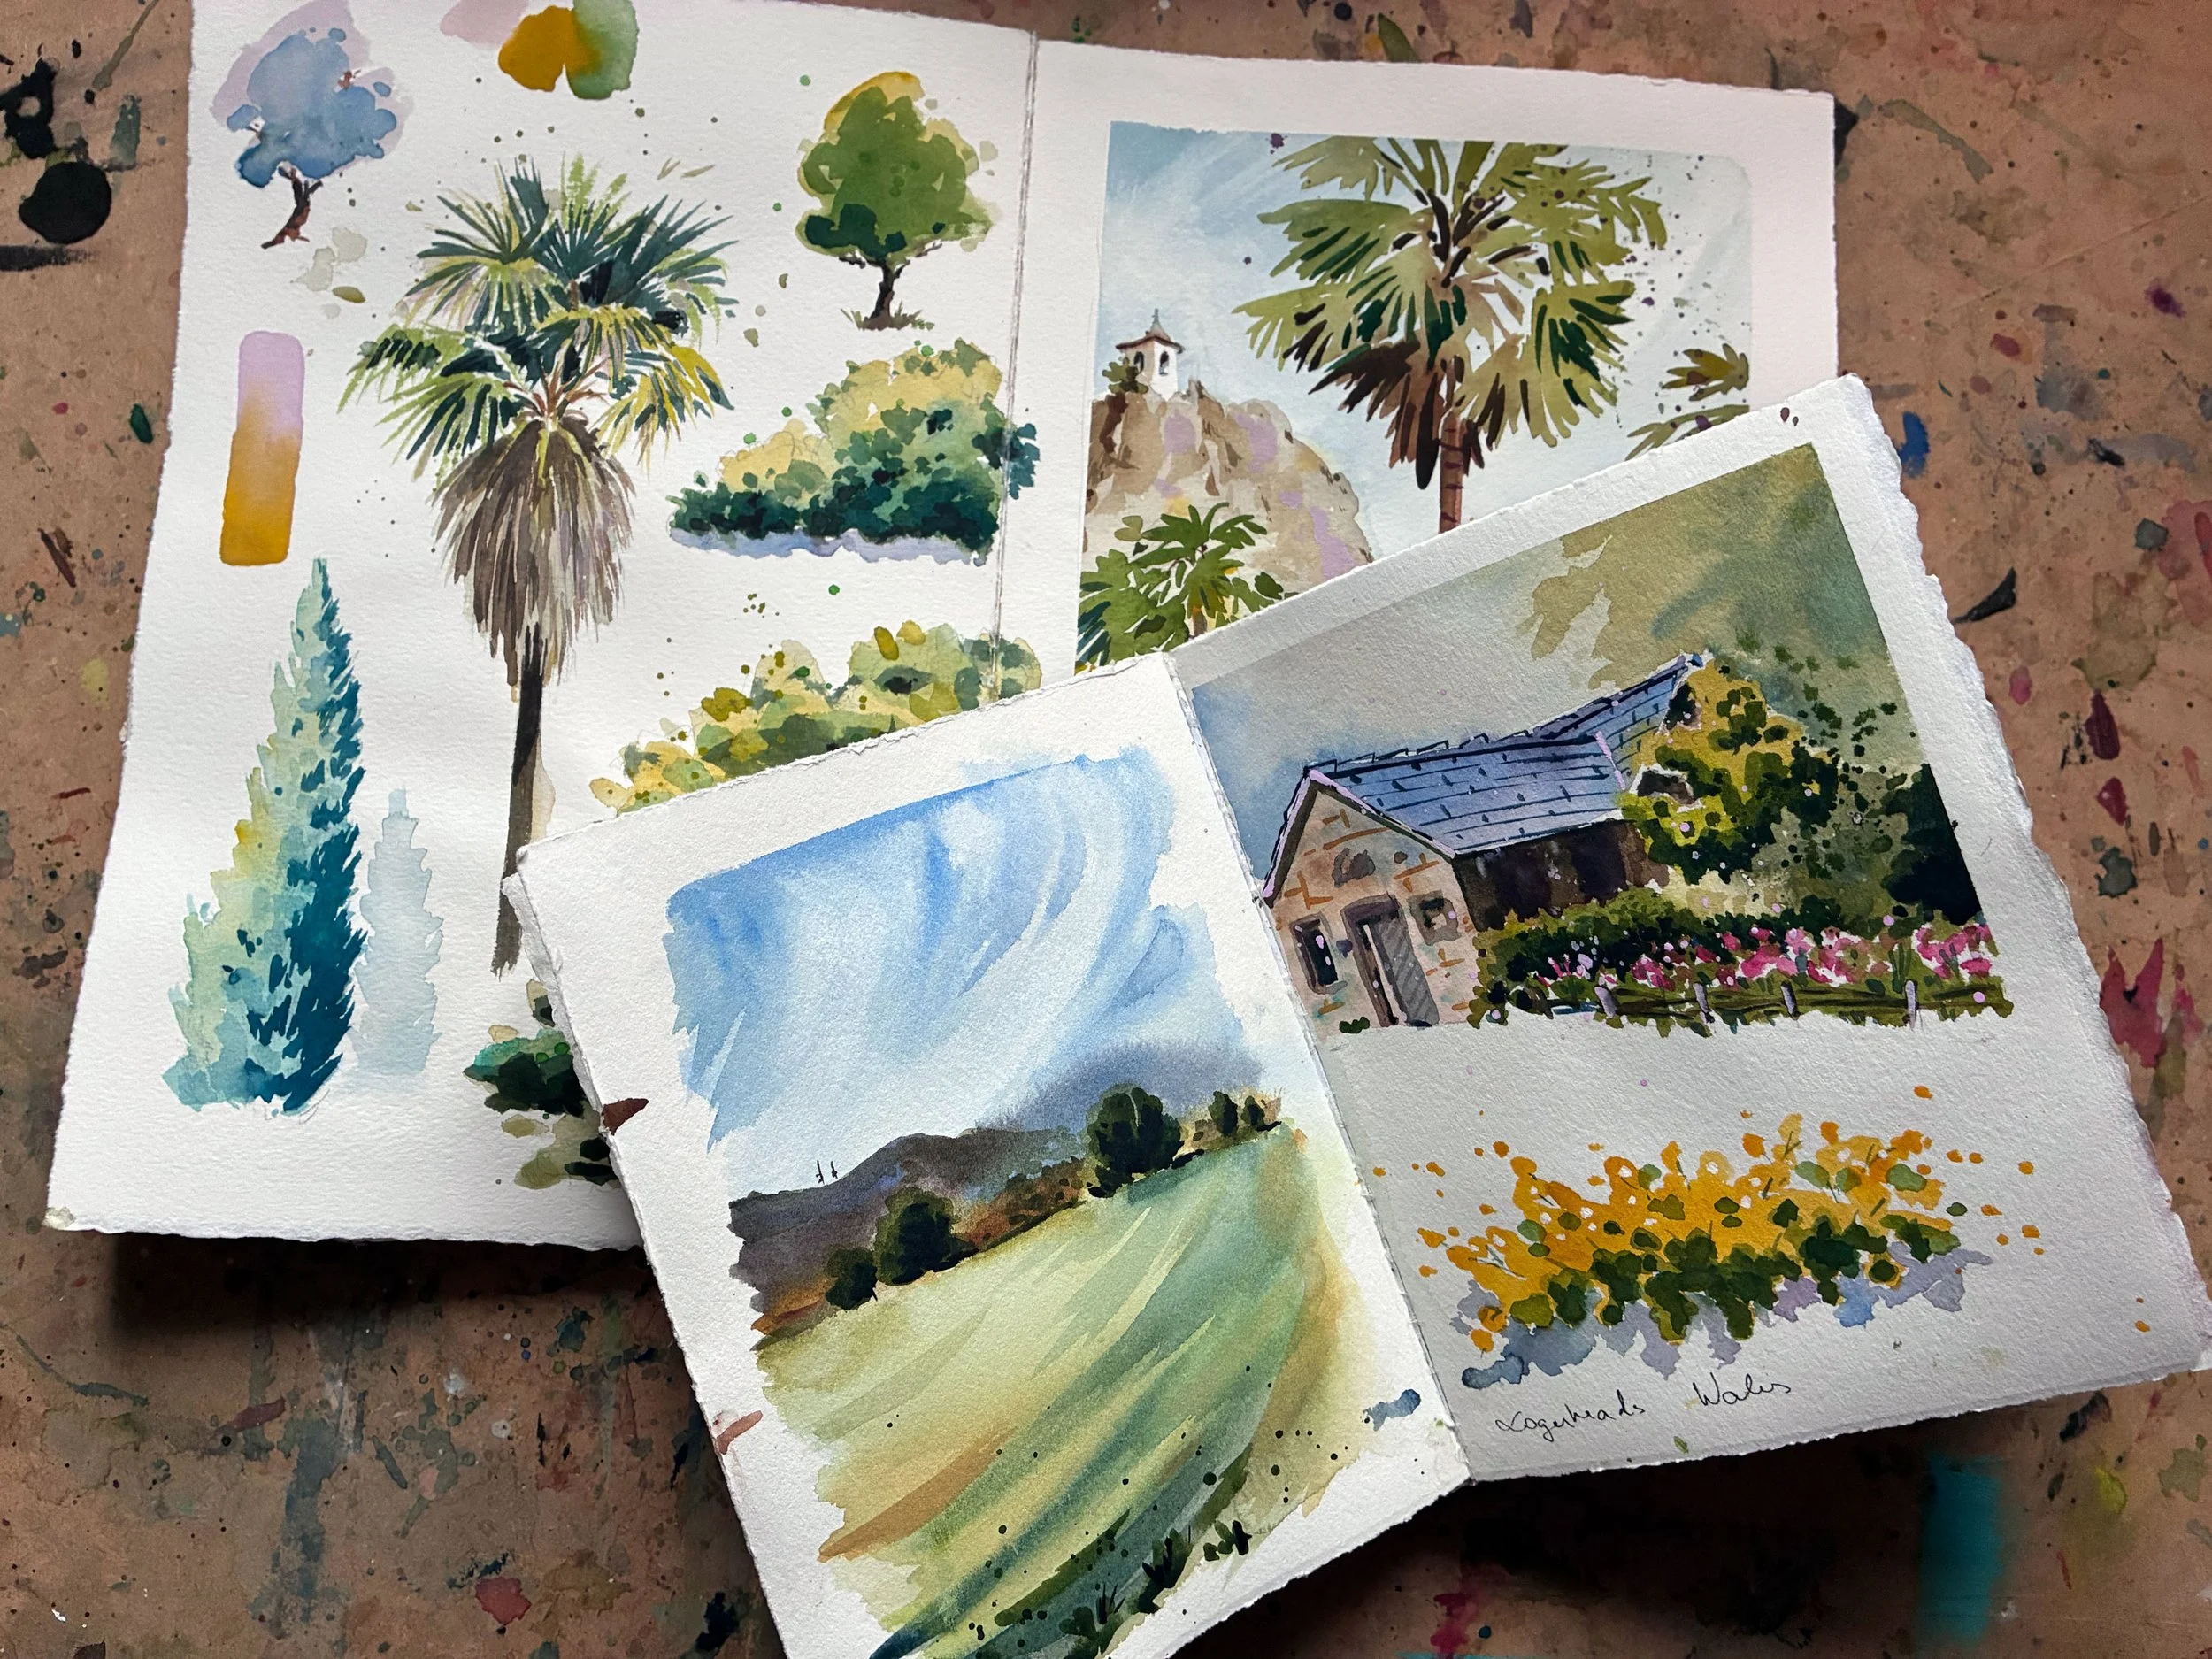
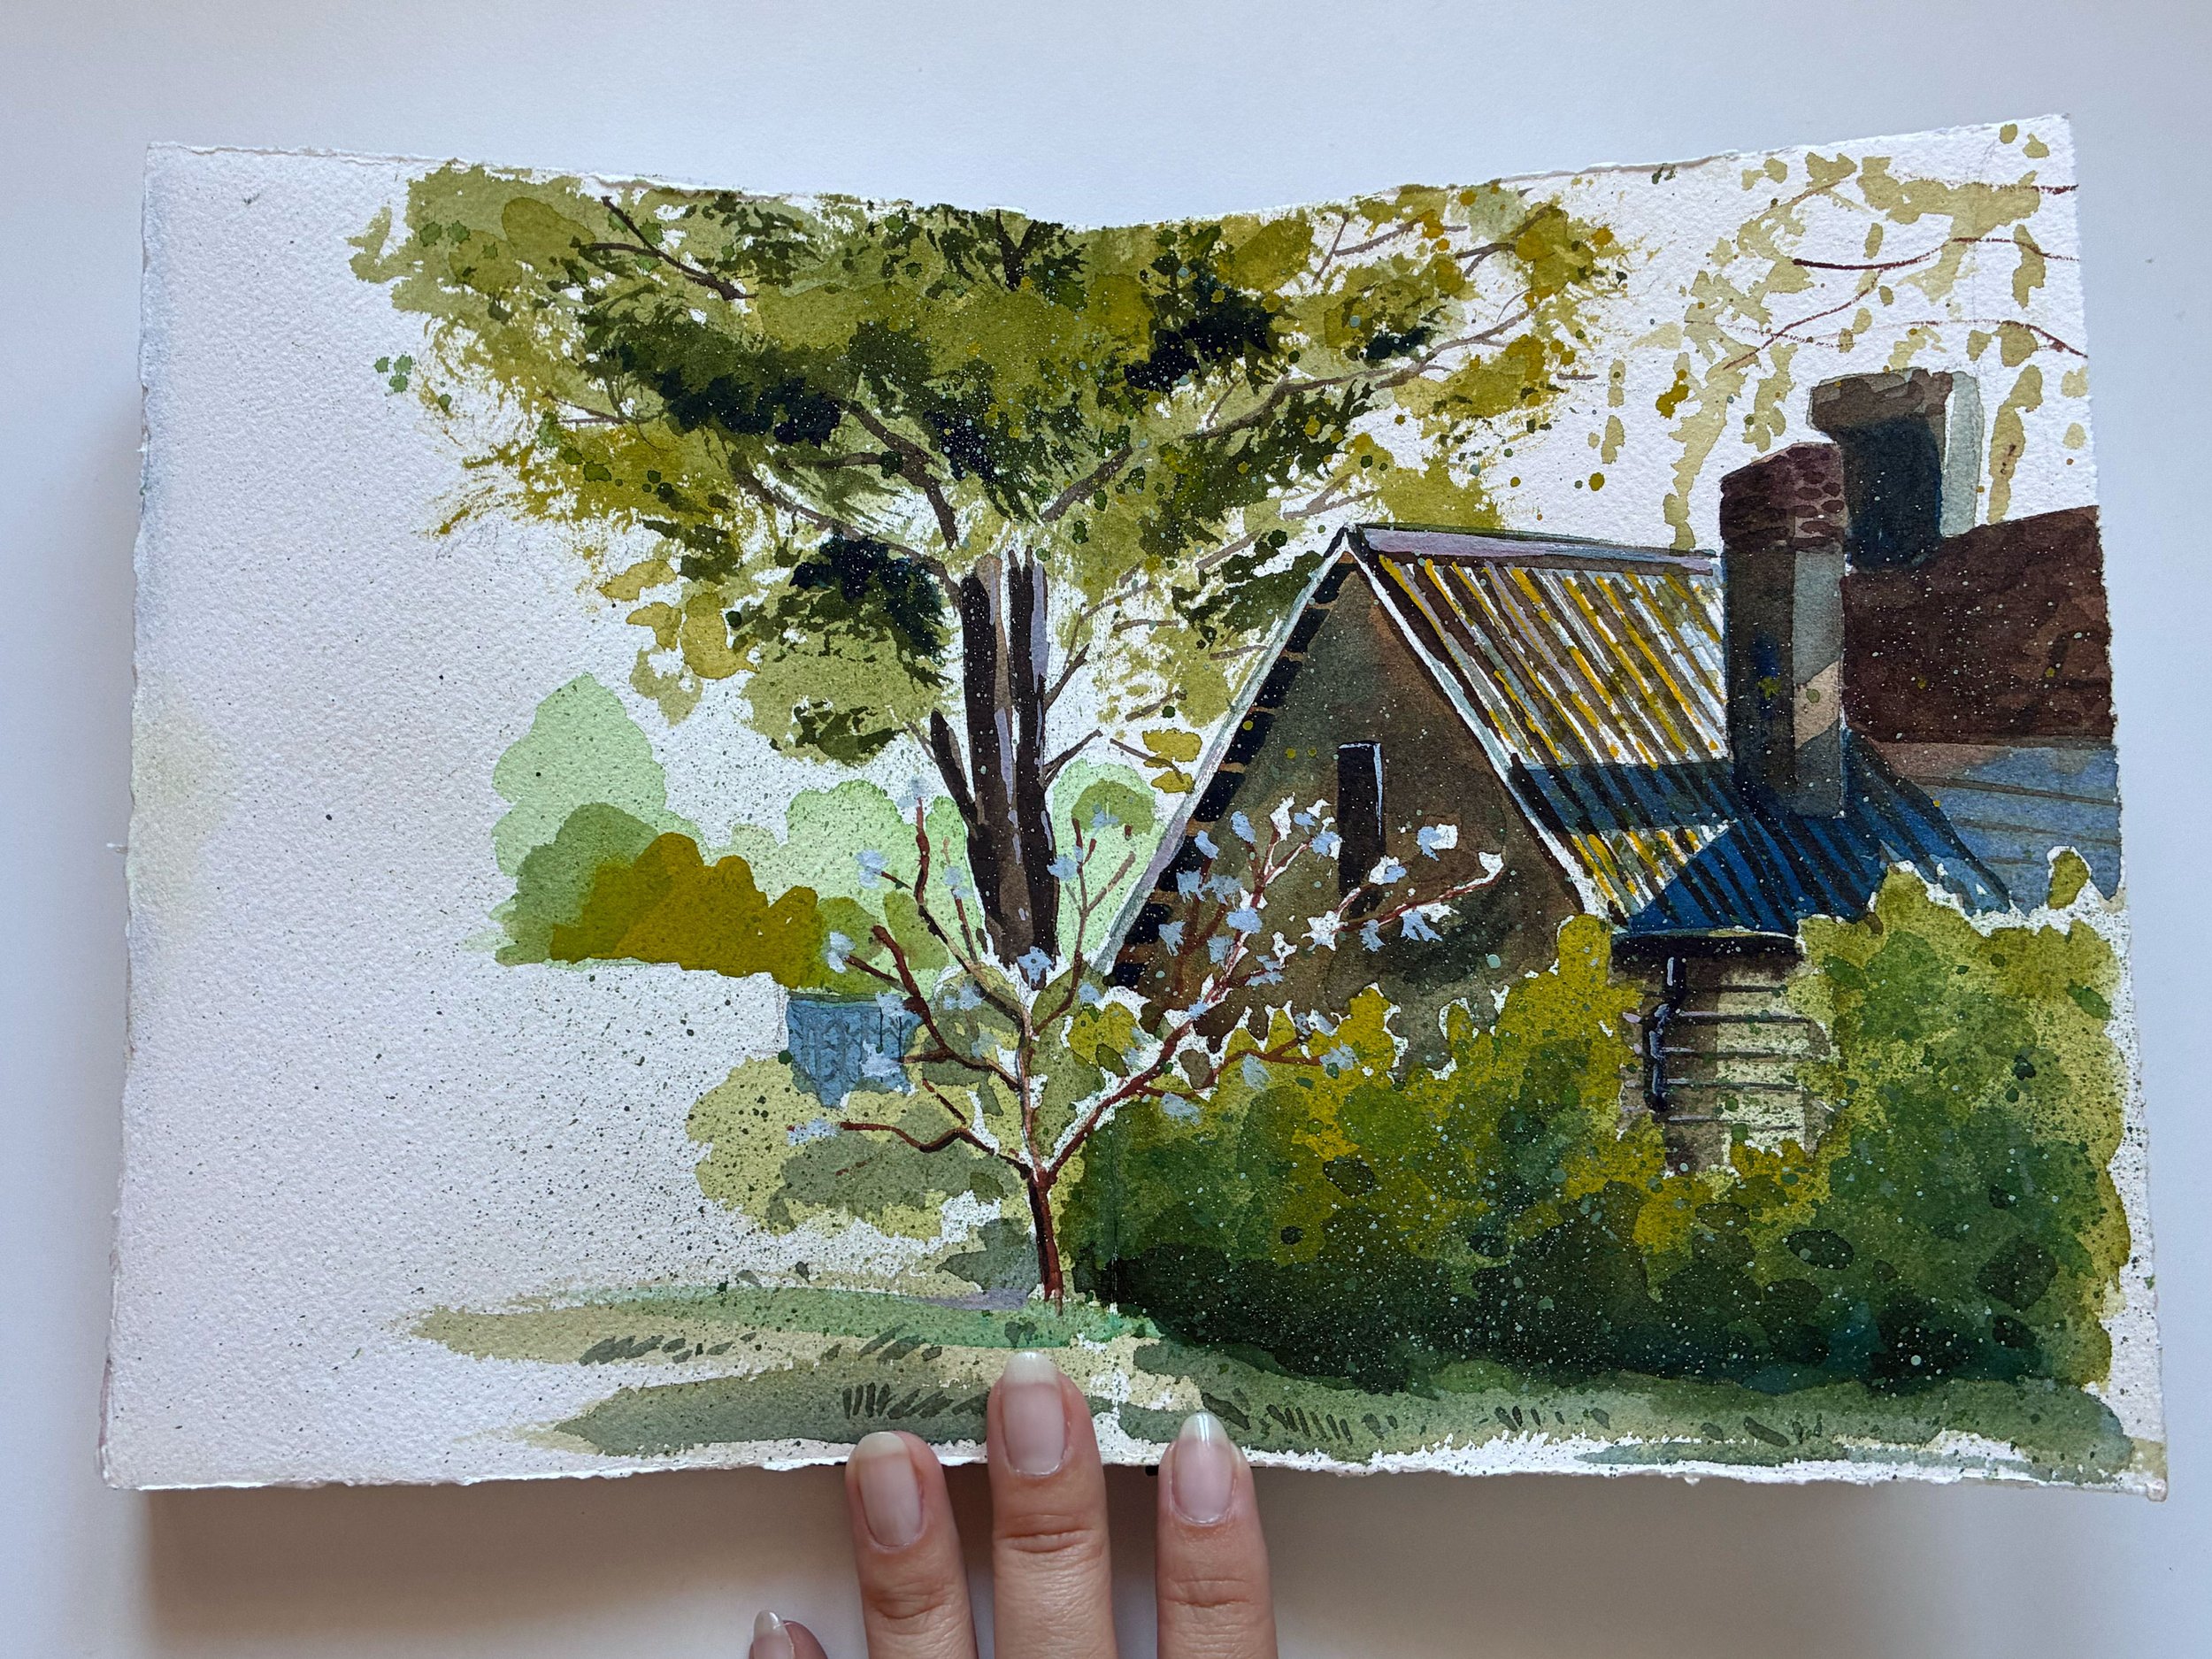
There is something magical about painting in a sketchbook, as a whole, it becomes an art piece on its own. I often feel that a sketchbook releases the pressure of perfection in my work.
I know some people feel the opposite. It’s so much easier to throw away a loose sheet so it doesn’t serve as a reminder of a failed attempt. But in a sketchbook, it’s different. It obligates the artist to put something beautiful there, because it will live there permanently… or so it might seem.
I just love those crude, imperfect brushstrokes, colours running into each other because there wasn’t enough time to let them dry, or a fold in the paper creating a dent where the paint collects.
For years, I’ve been trying to find the perfect sketchbook, you know, the one with thick enough paper to withstand all the layers, artist. grade quality, that opens flat, and is the right size. Painting on the go is hard enough without the paper working against you.
And of course, the perfect sketchbook should also have the perfect price…But if you’ve ever searched for watercolour sketchbooks, you’ll know, your eyes fill with tears. Mine do too.
I started looking into tutorials on how to make my own sketchbook without too much time investment or loads of bookbinding tools. I wanted a traditional book style, as I have yet to love accordion sketchbooks…then came across one on YouTube by Voluptas Oculorum. I made a few small modifications to fit my needs, for instance I don’t use ruler or cut the paper to size, this is already too much work for me. I mainly use bone folder for everything as been taught in my bookbinding classes. This is now the third sketchbook I’ve made without breaking the bank.
I’m doing my best to show you step by step.
What You Will Need

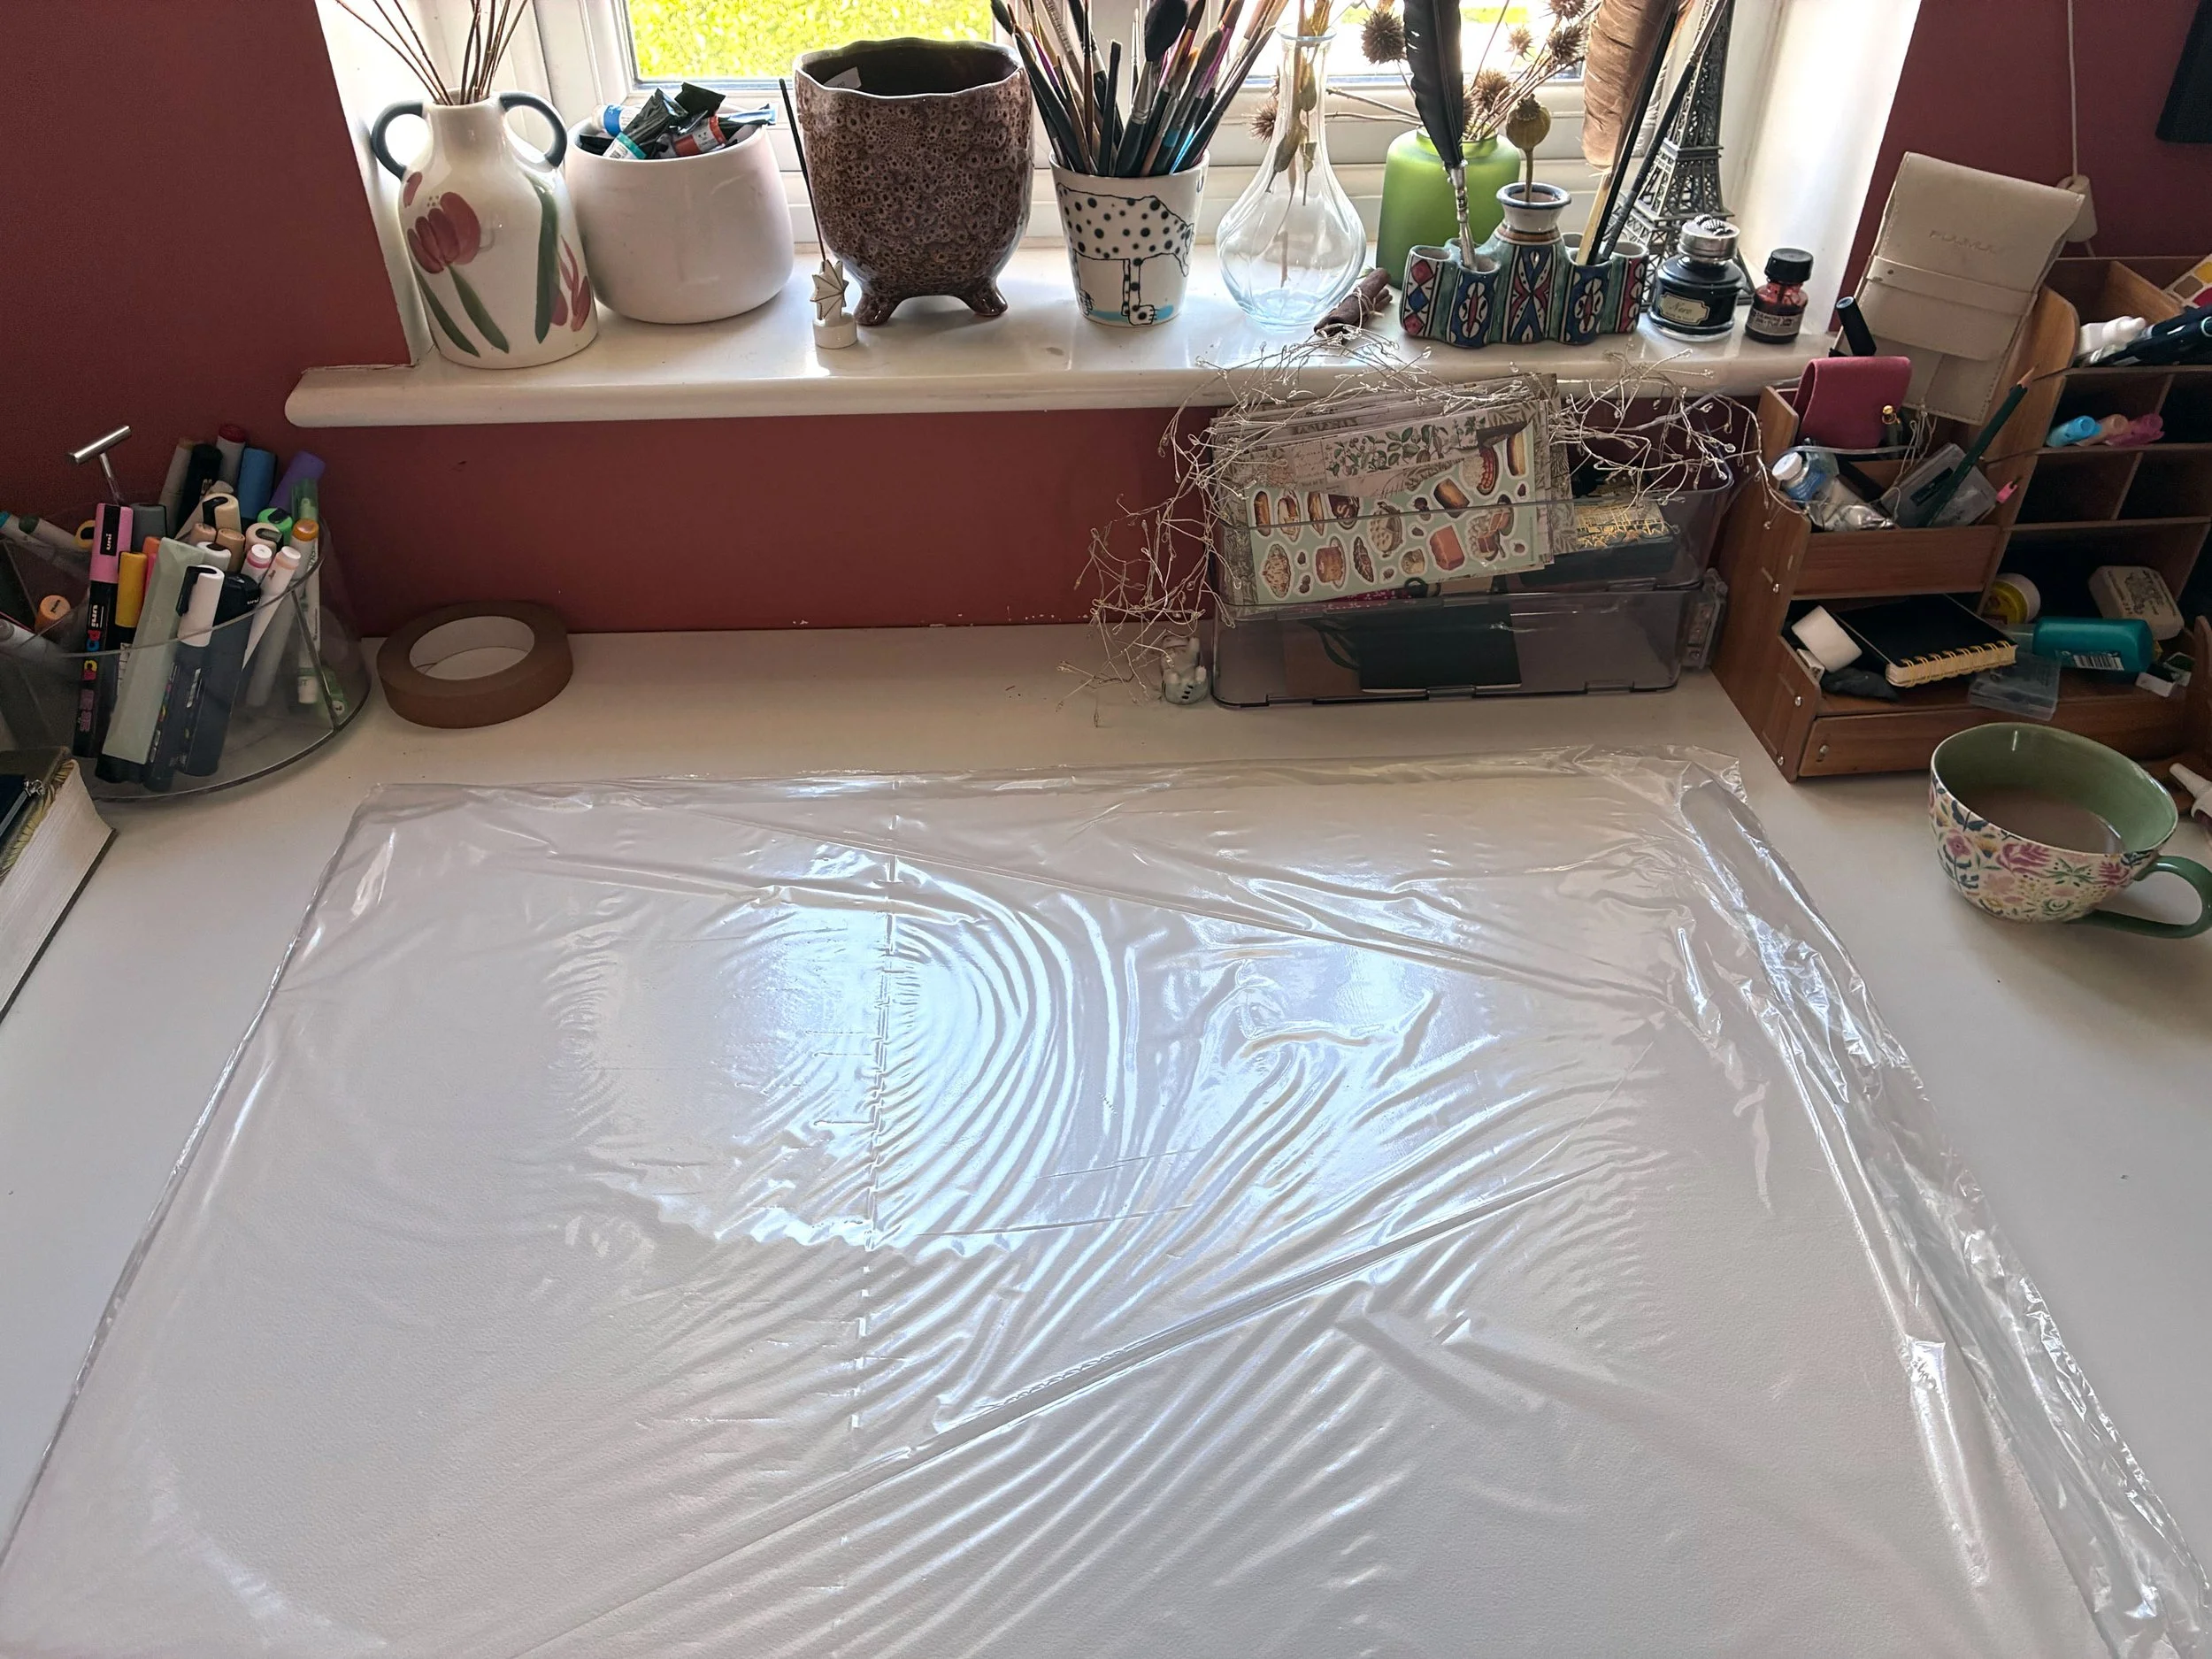
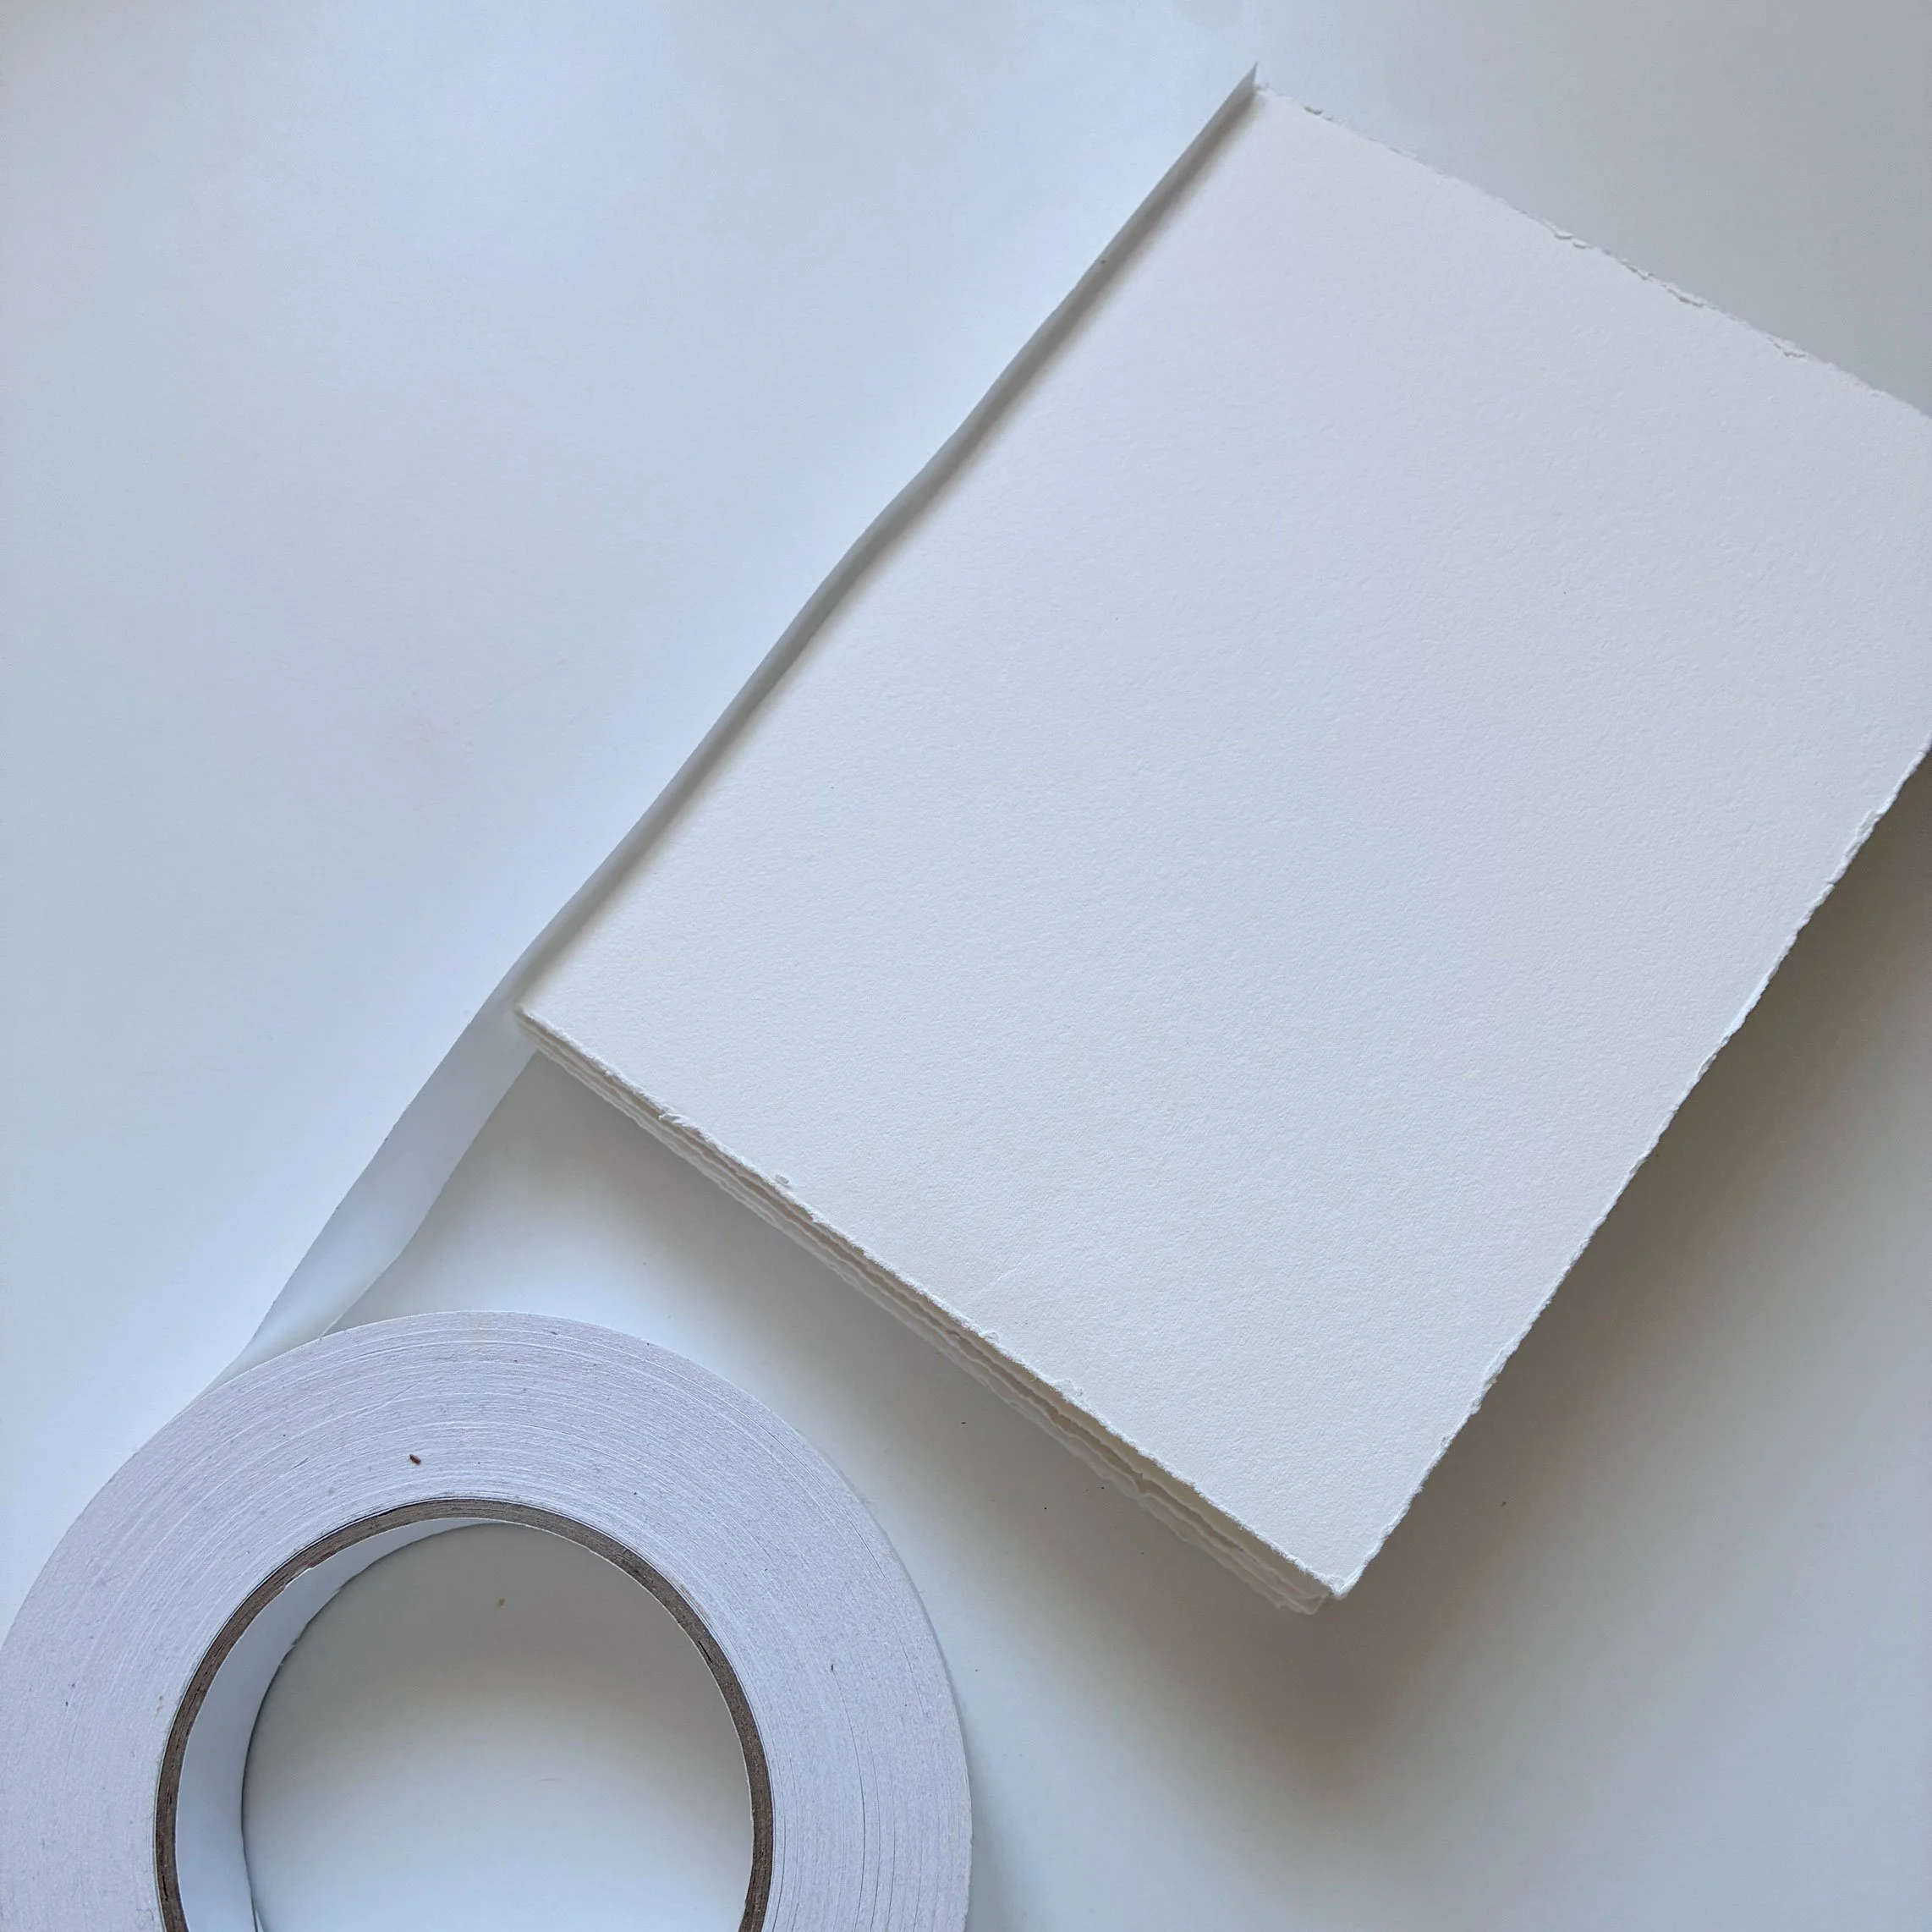
Watercolour paper that you like (I use Arches cold press full sheets)
Bulldog clips
Bone folder
Step 1
I take a full sheet of watercolour paper (56 × 76 cm) and fold it in half. Using a bone folder, I run it back and forth along the edge a few times to smooth the fold and create a good crease.
Then I refold it the other way and smooth it again, just to weaken the paper fibres before tearing.
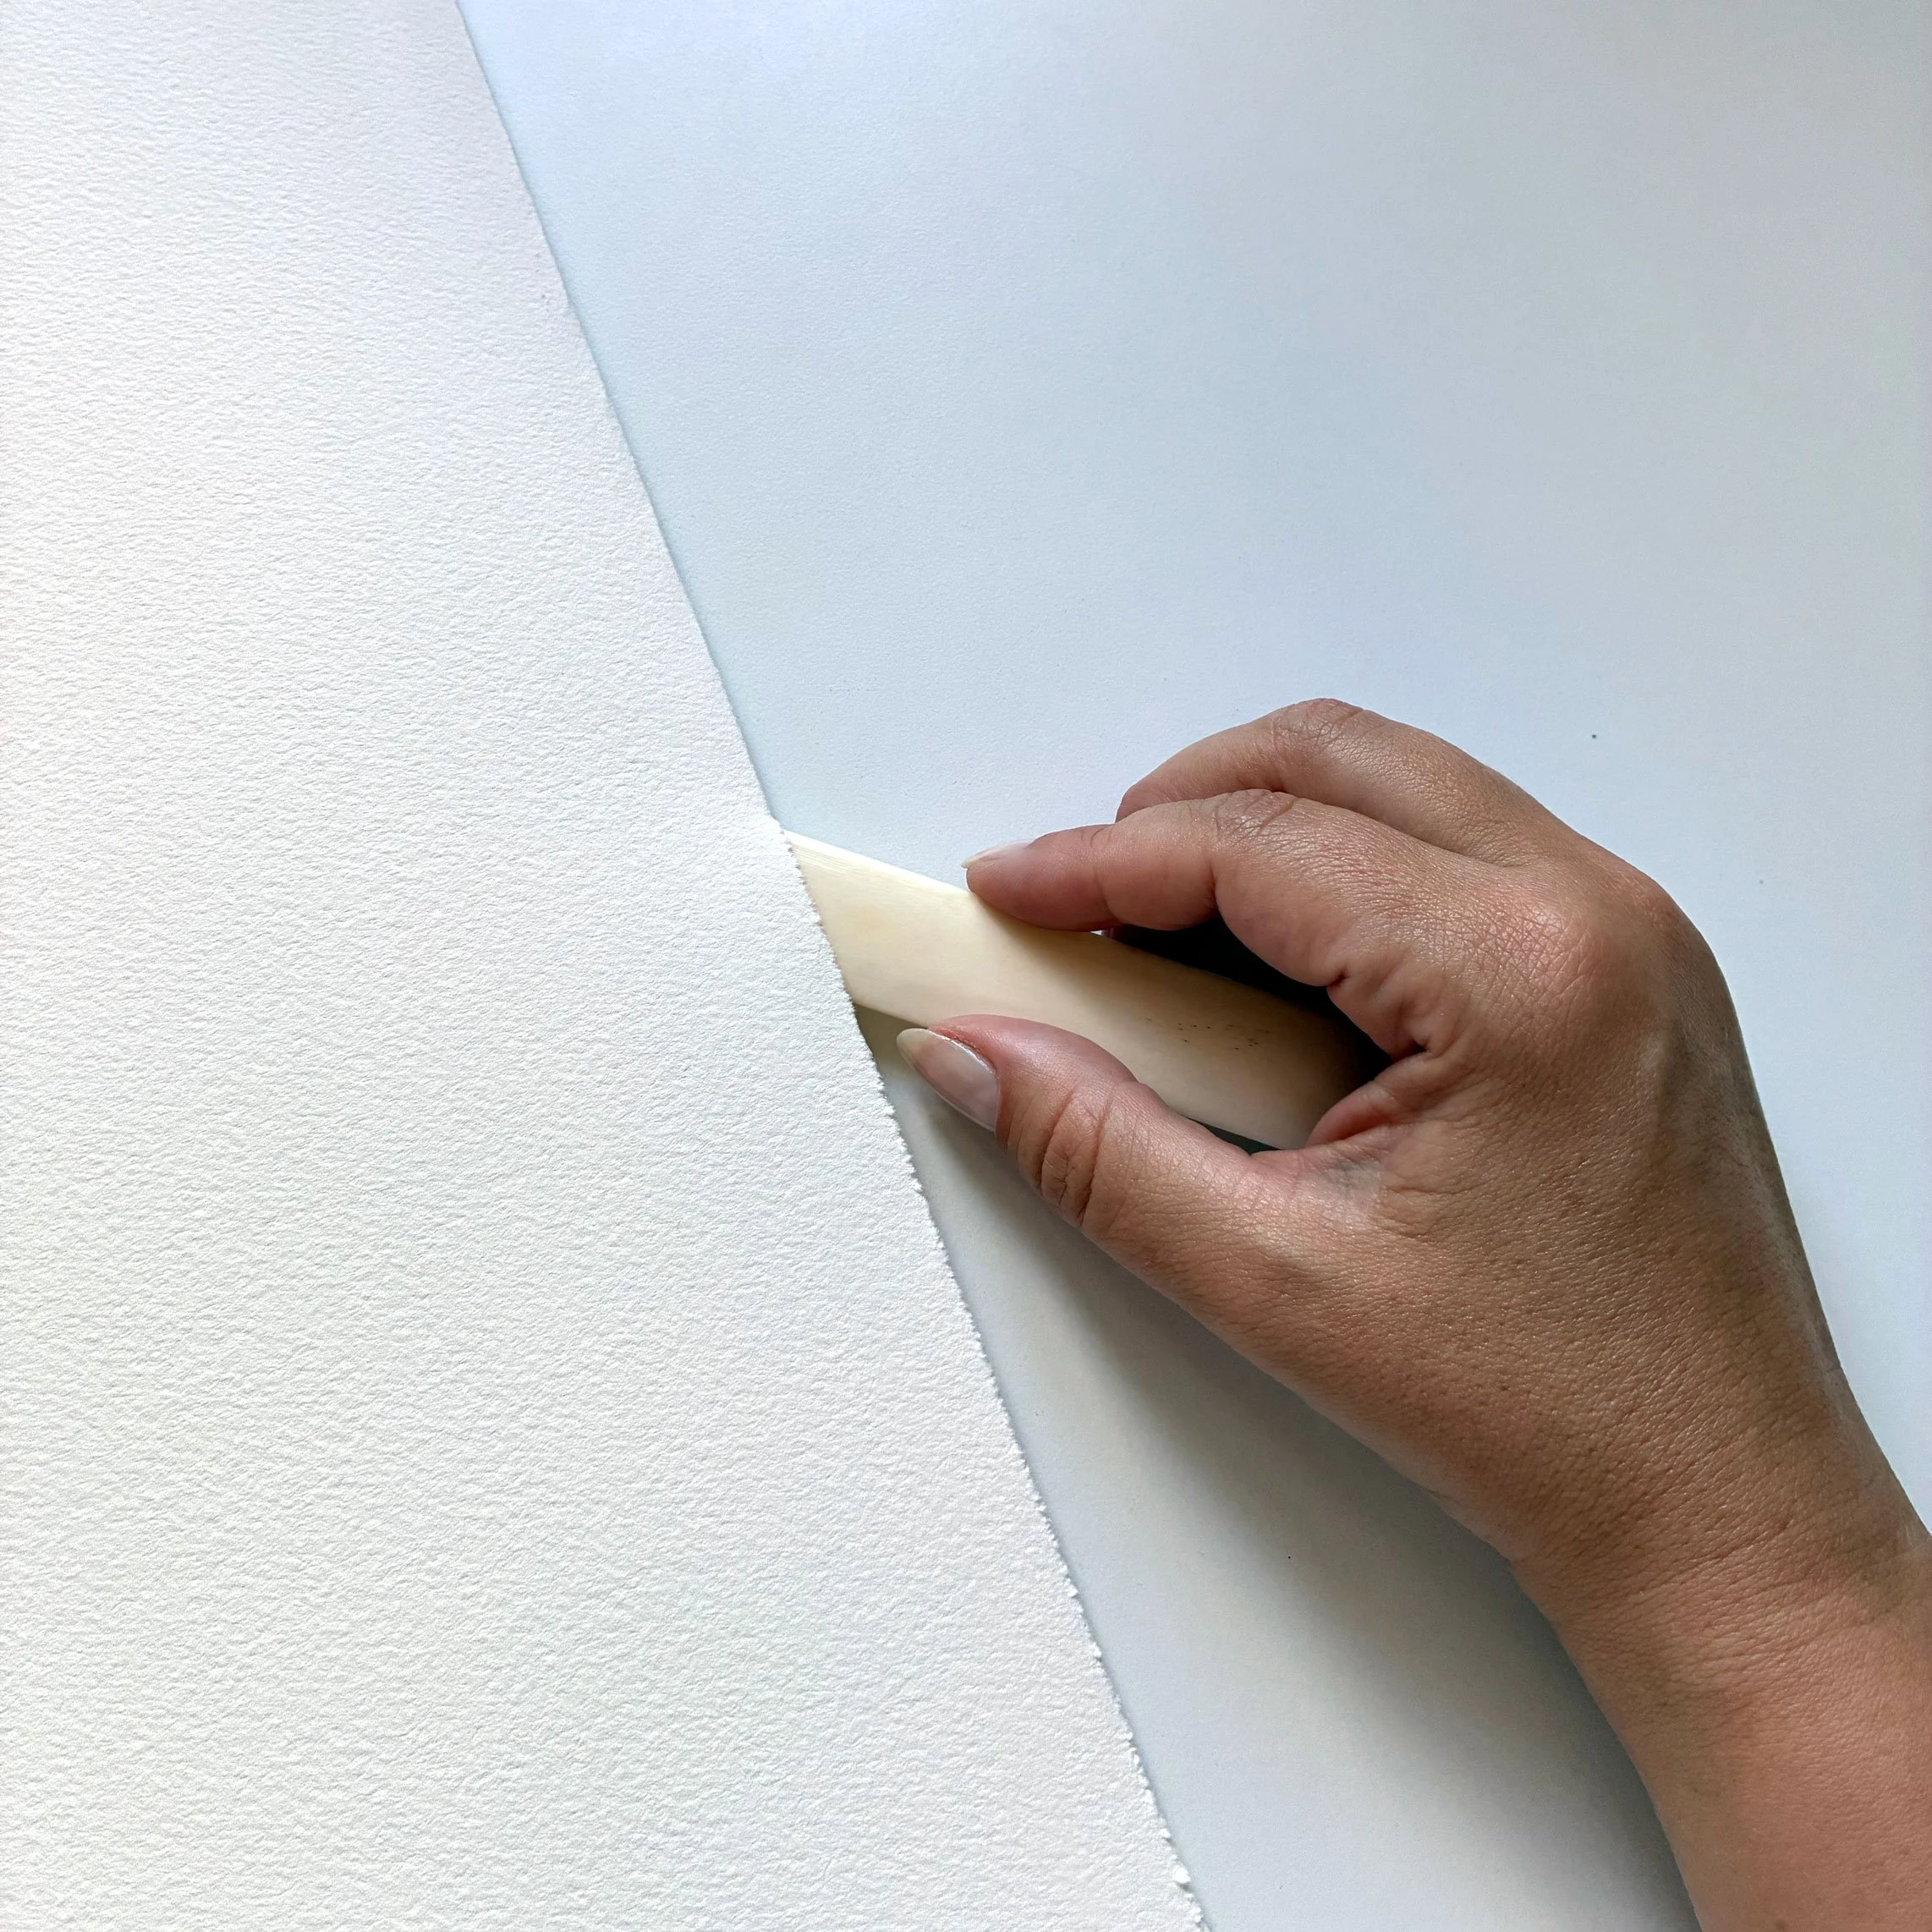
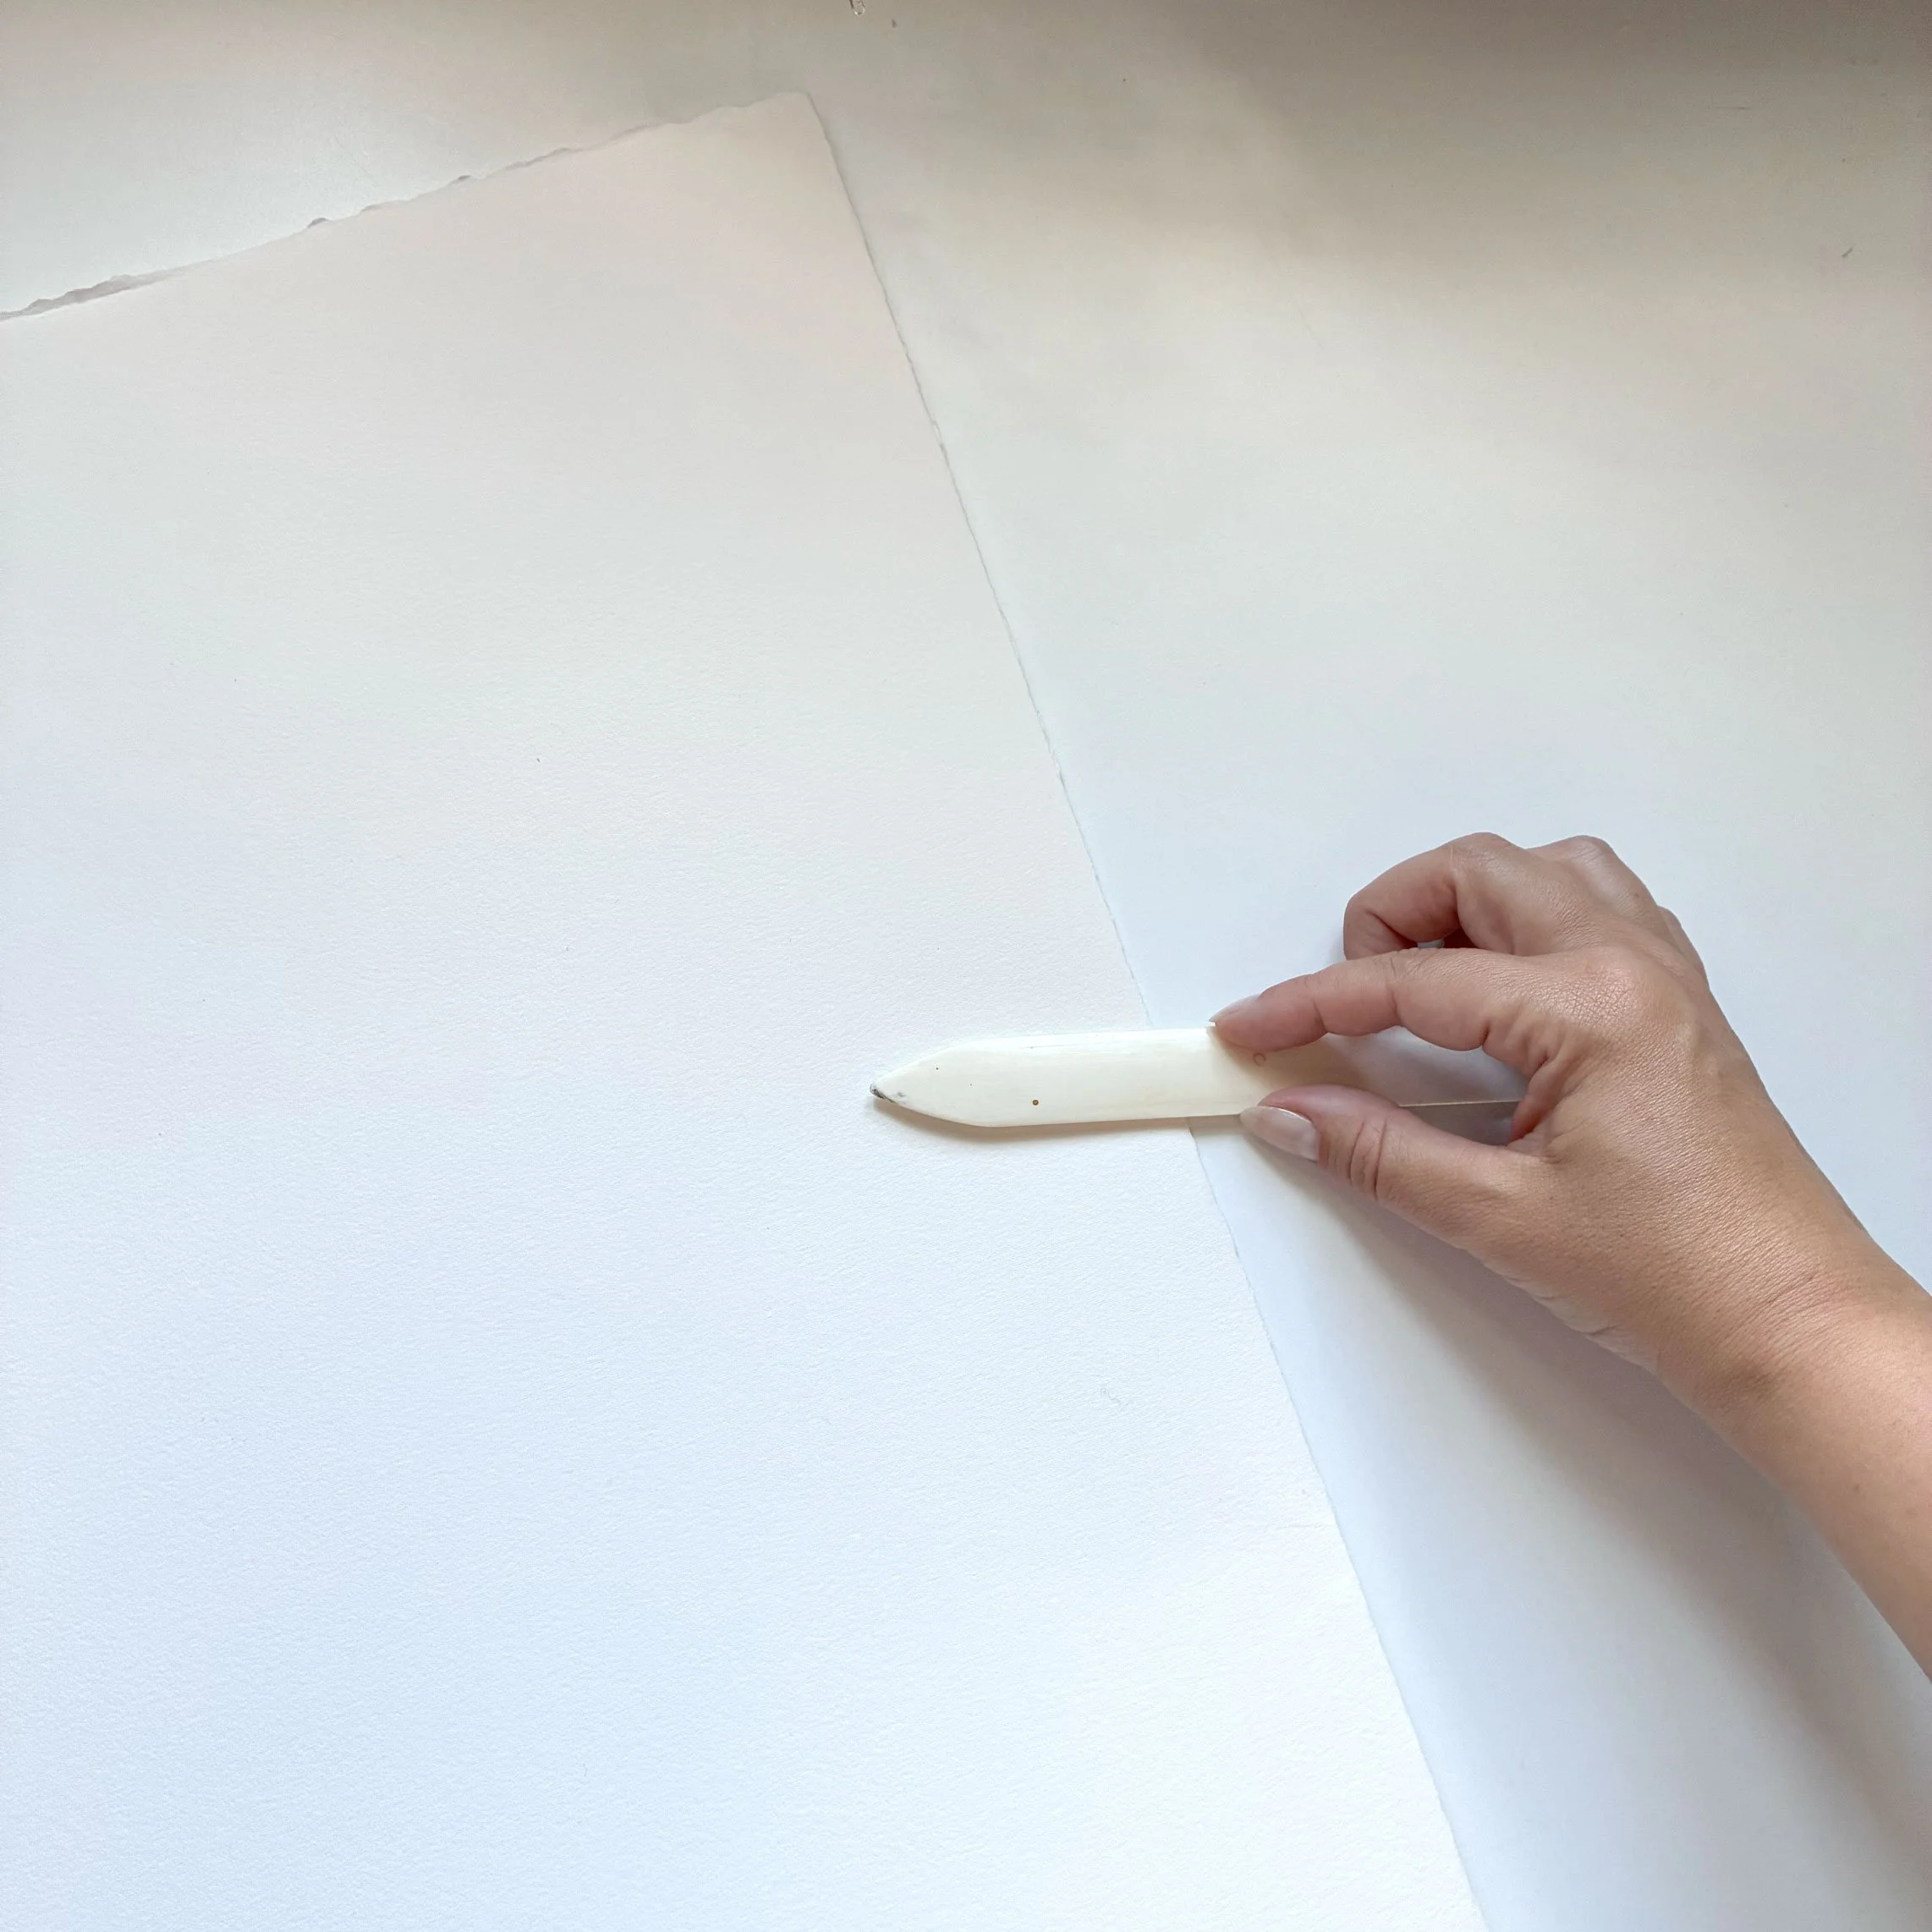
Step 2
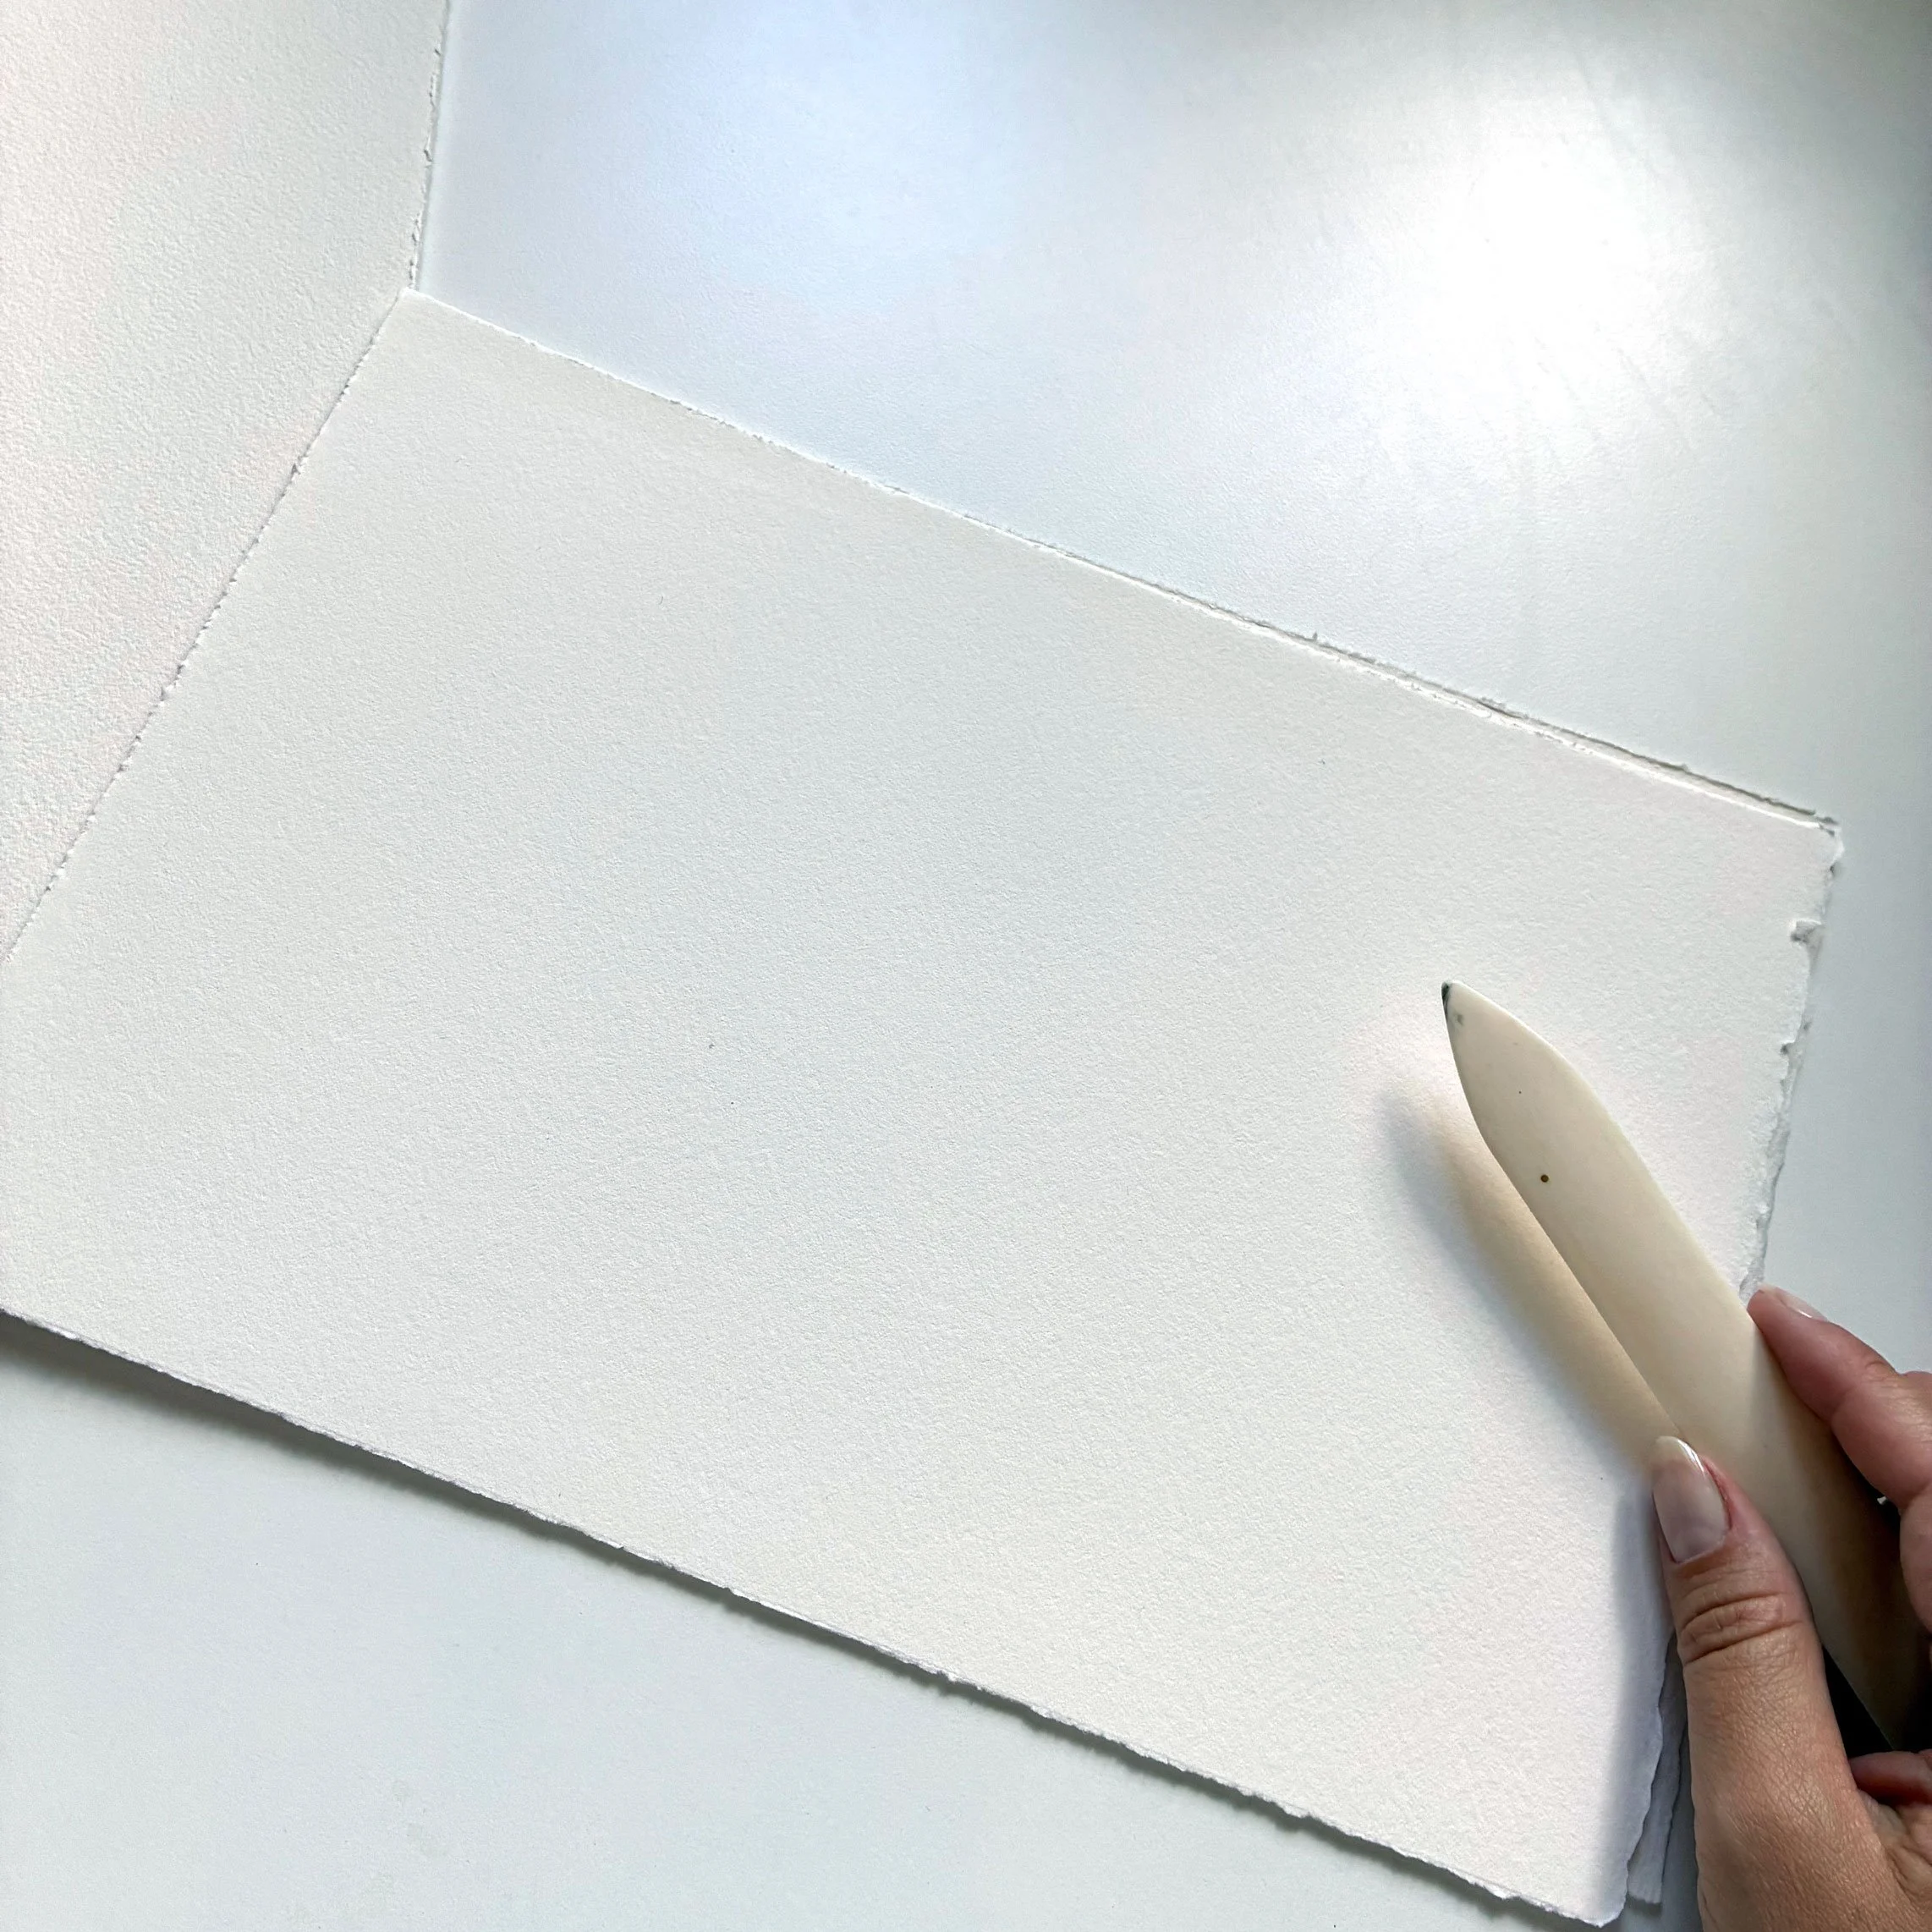
Tuck the bone folder inside the folded sheet at about a 45-degree angle and gently start tearing the paper. It should tear easily — if not, repeat the first step a few more times.
Step 3
old this half in half again and repeat the tearing process. Continue until you have 8 rectangular sheets (around 28 × 19 cm — slightly smaller than A4).
Step 4
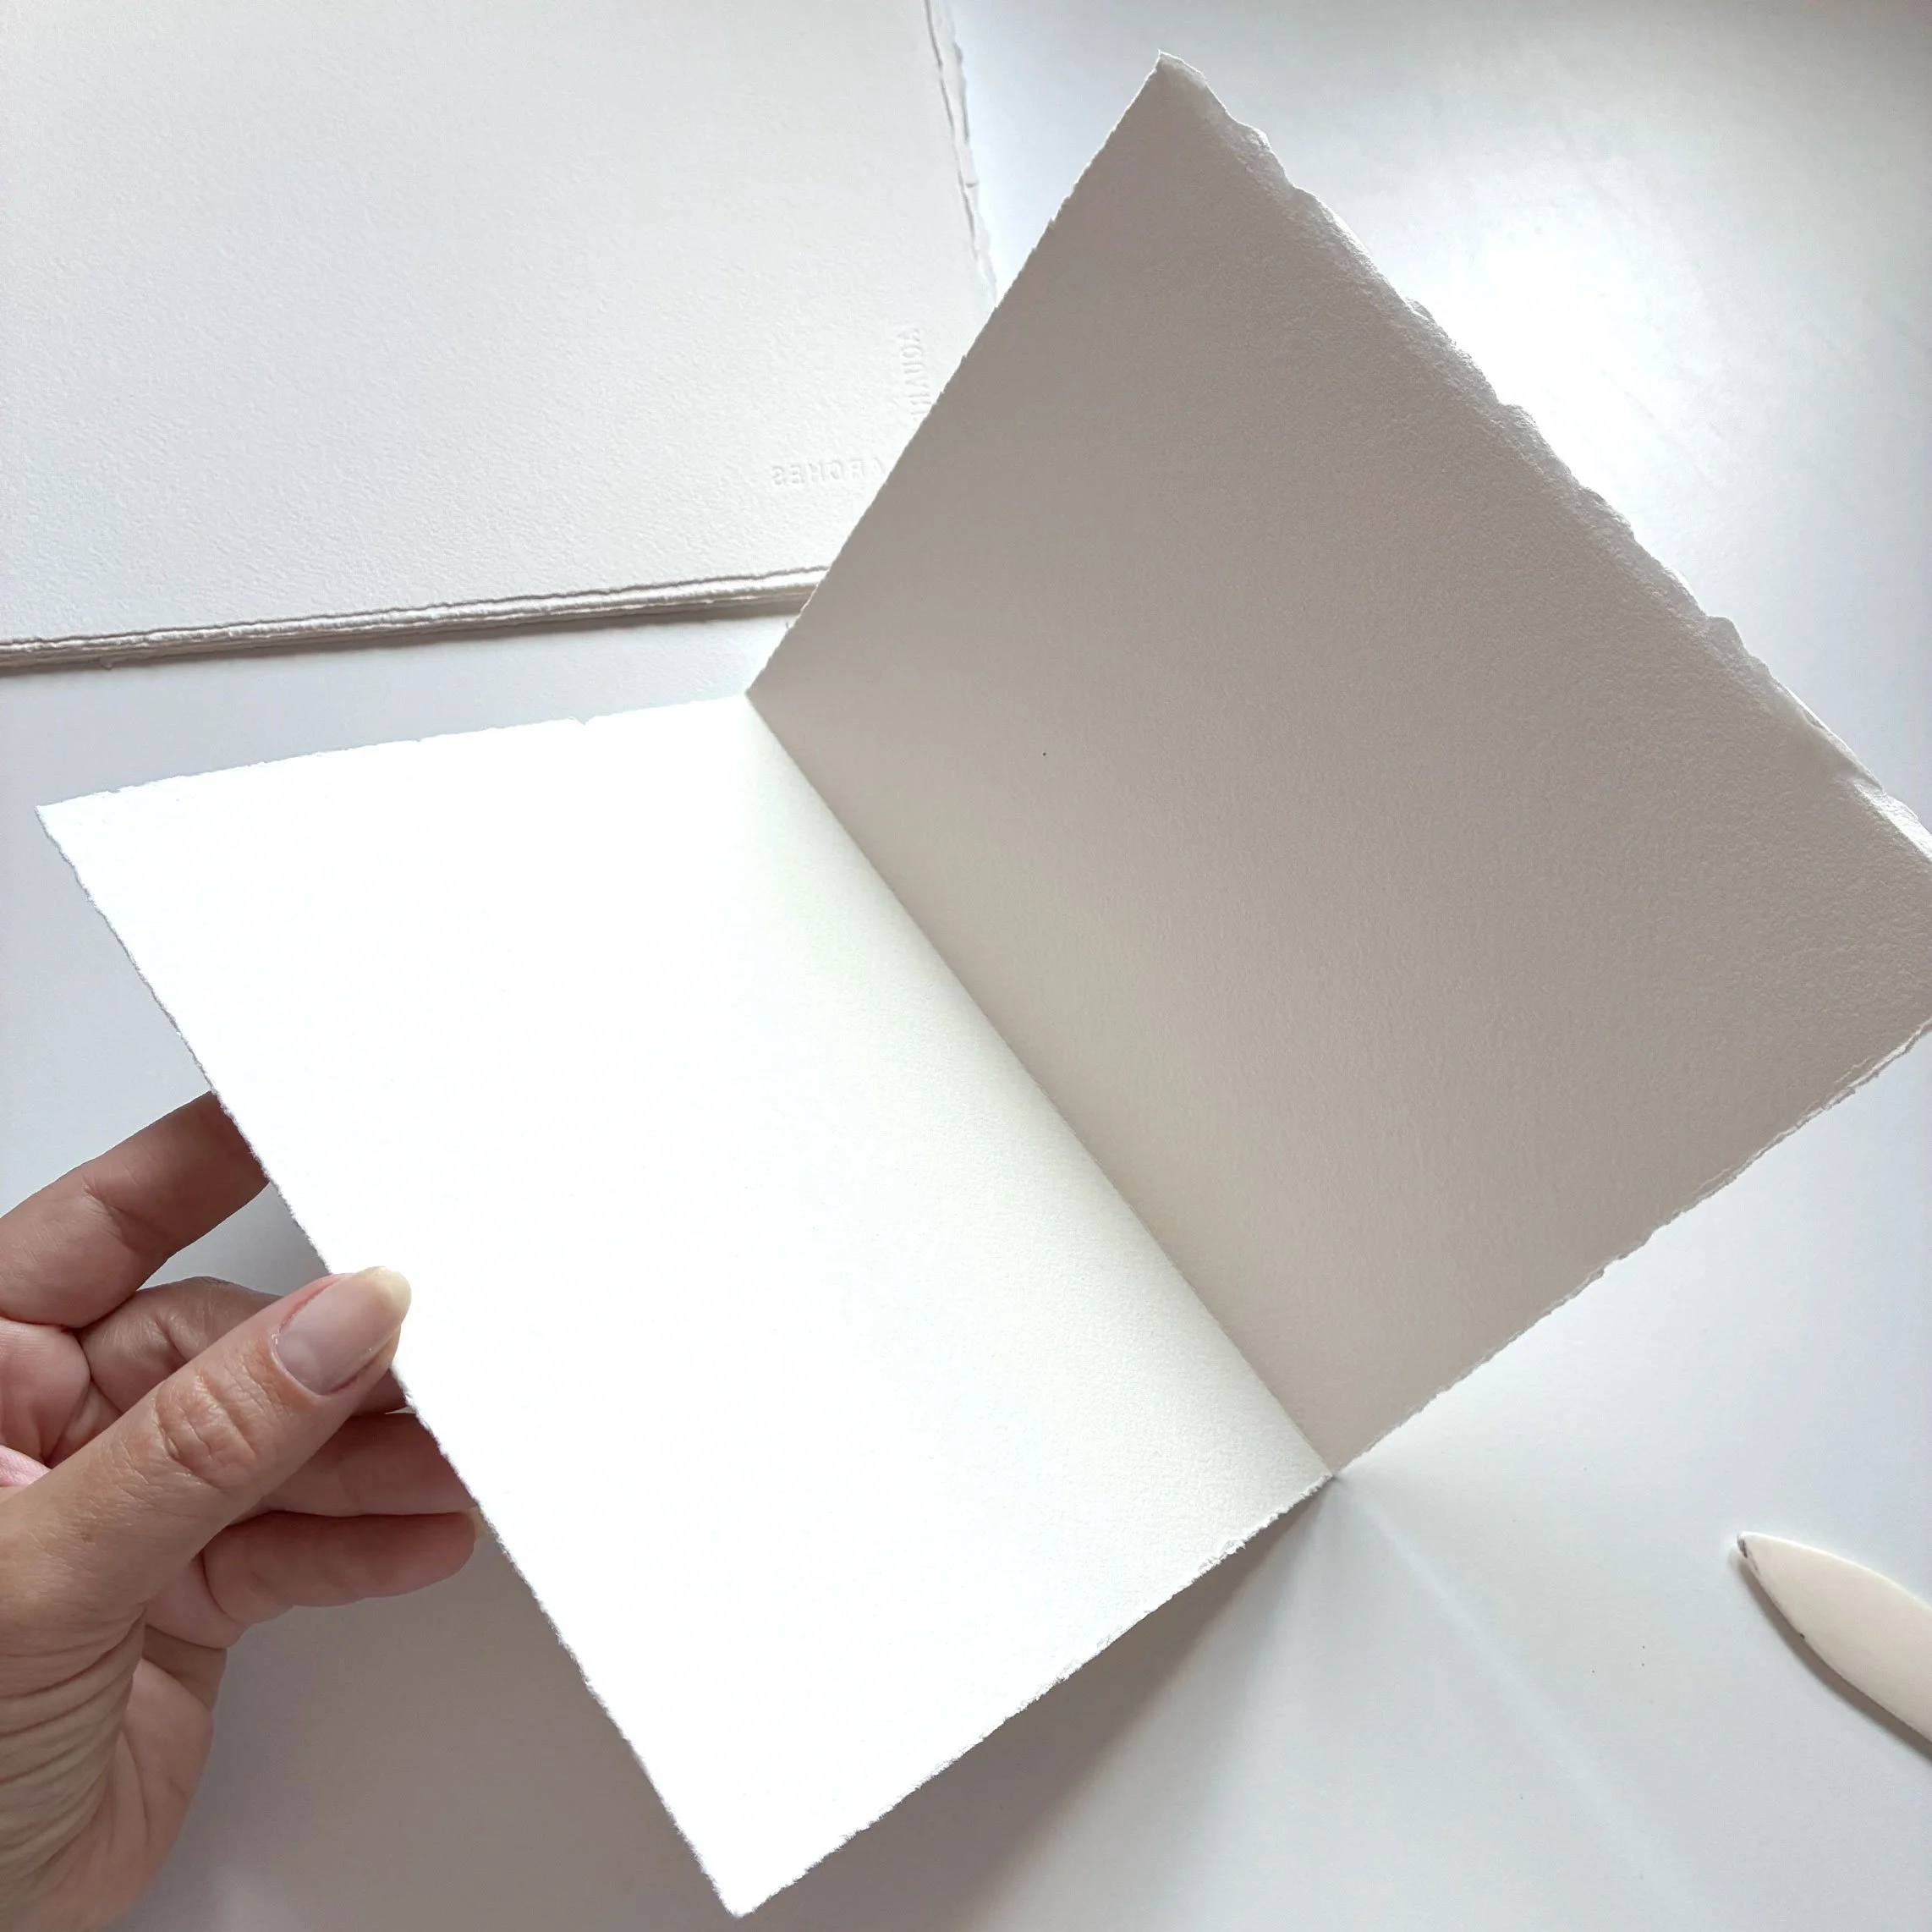
Fold each sheet one last time, with the “good” side of the watercolour paper facing inside. The good side is usually slightly more textured.
Step 5
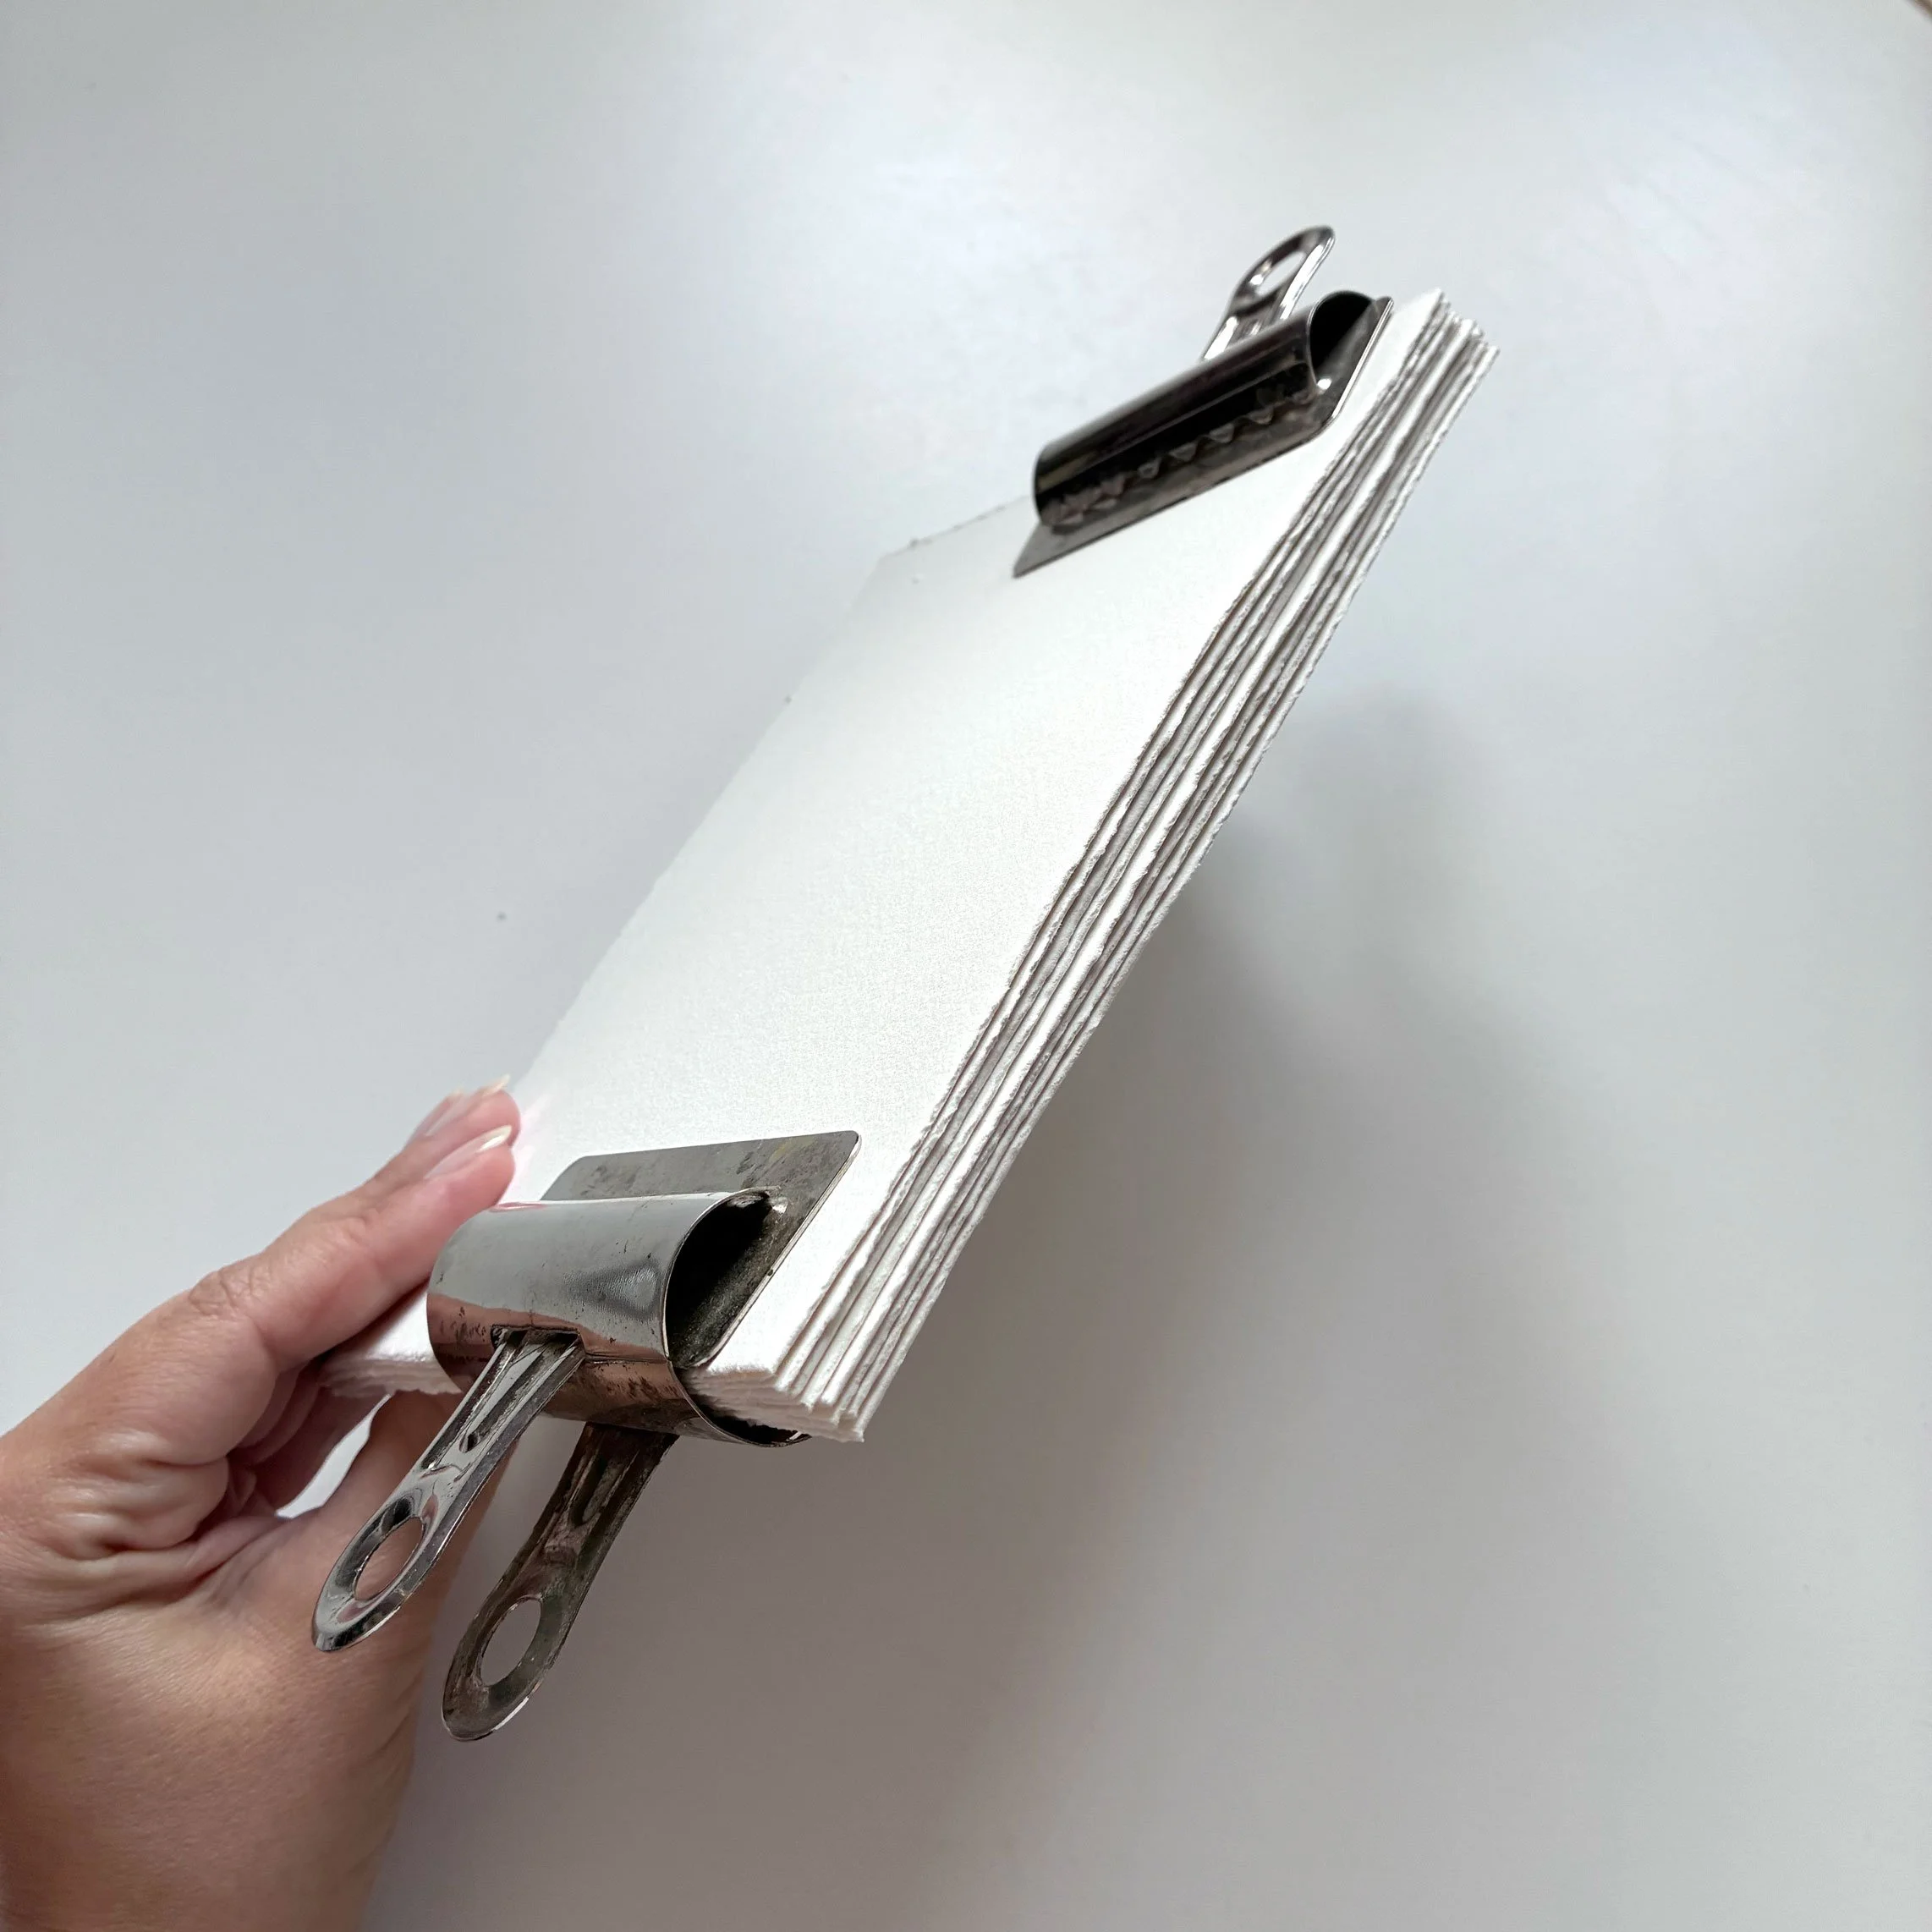
Stack the folded sheets together and align them. Use bulldog clips to secure the pages — the folded edge will become the spine of your sketchbook.
Step 6
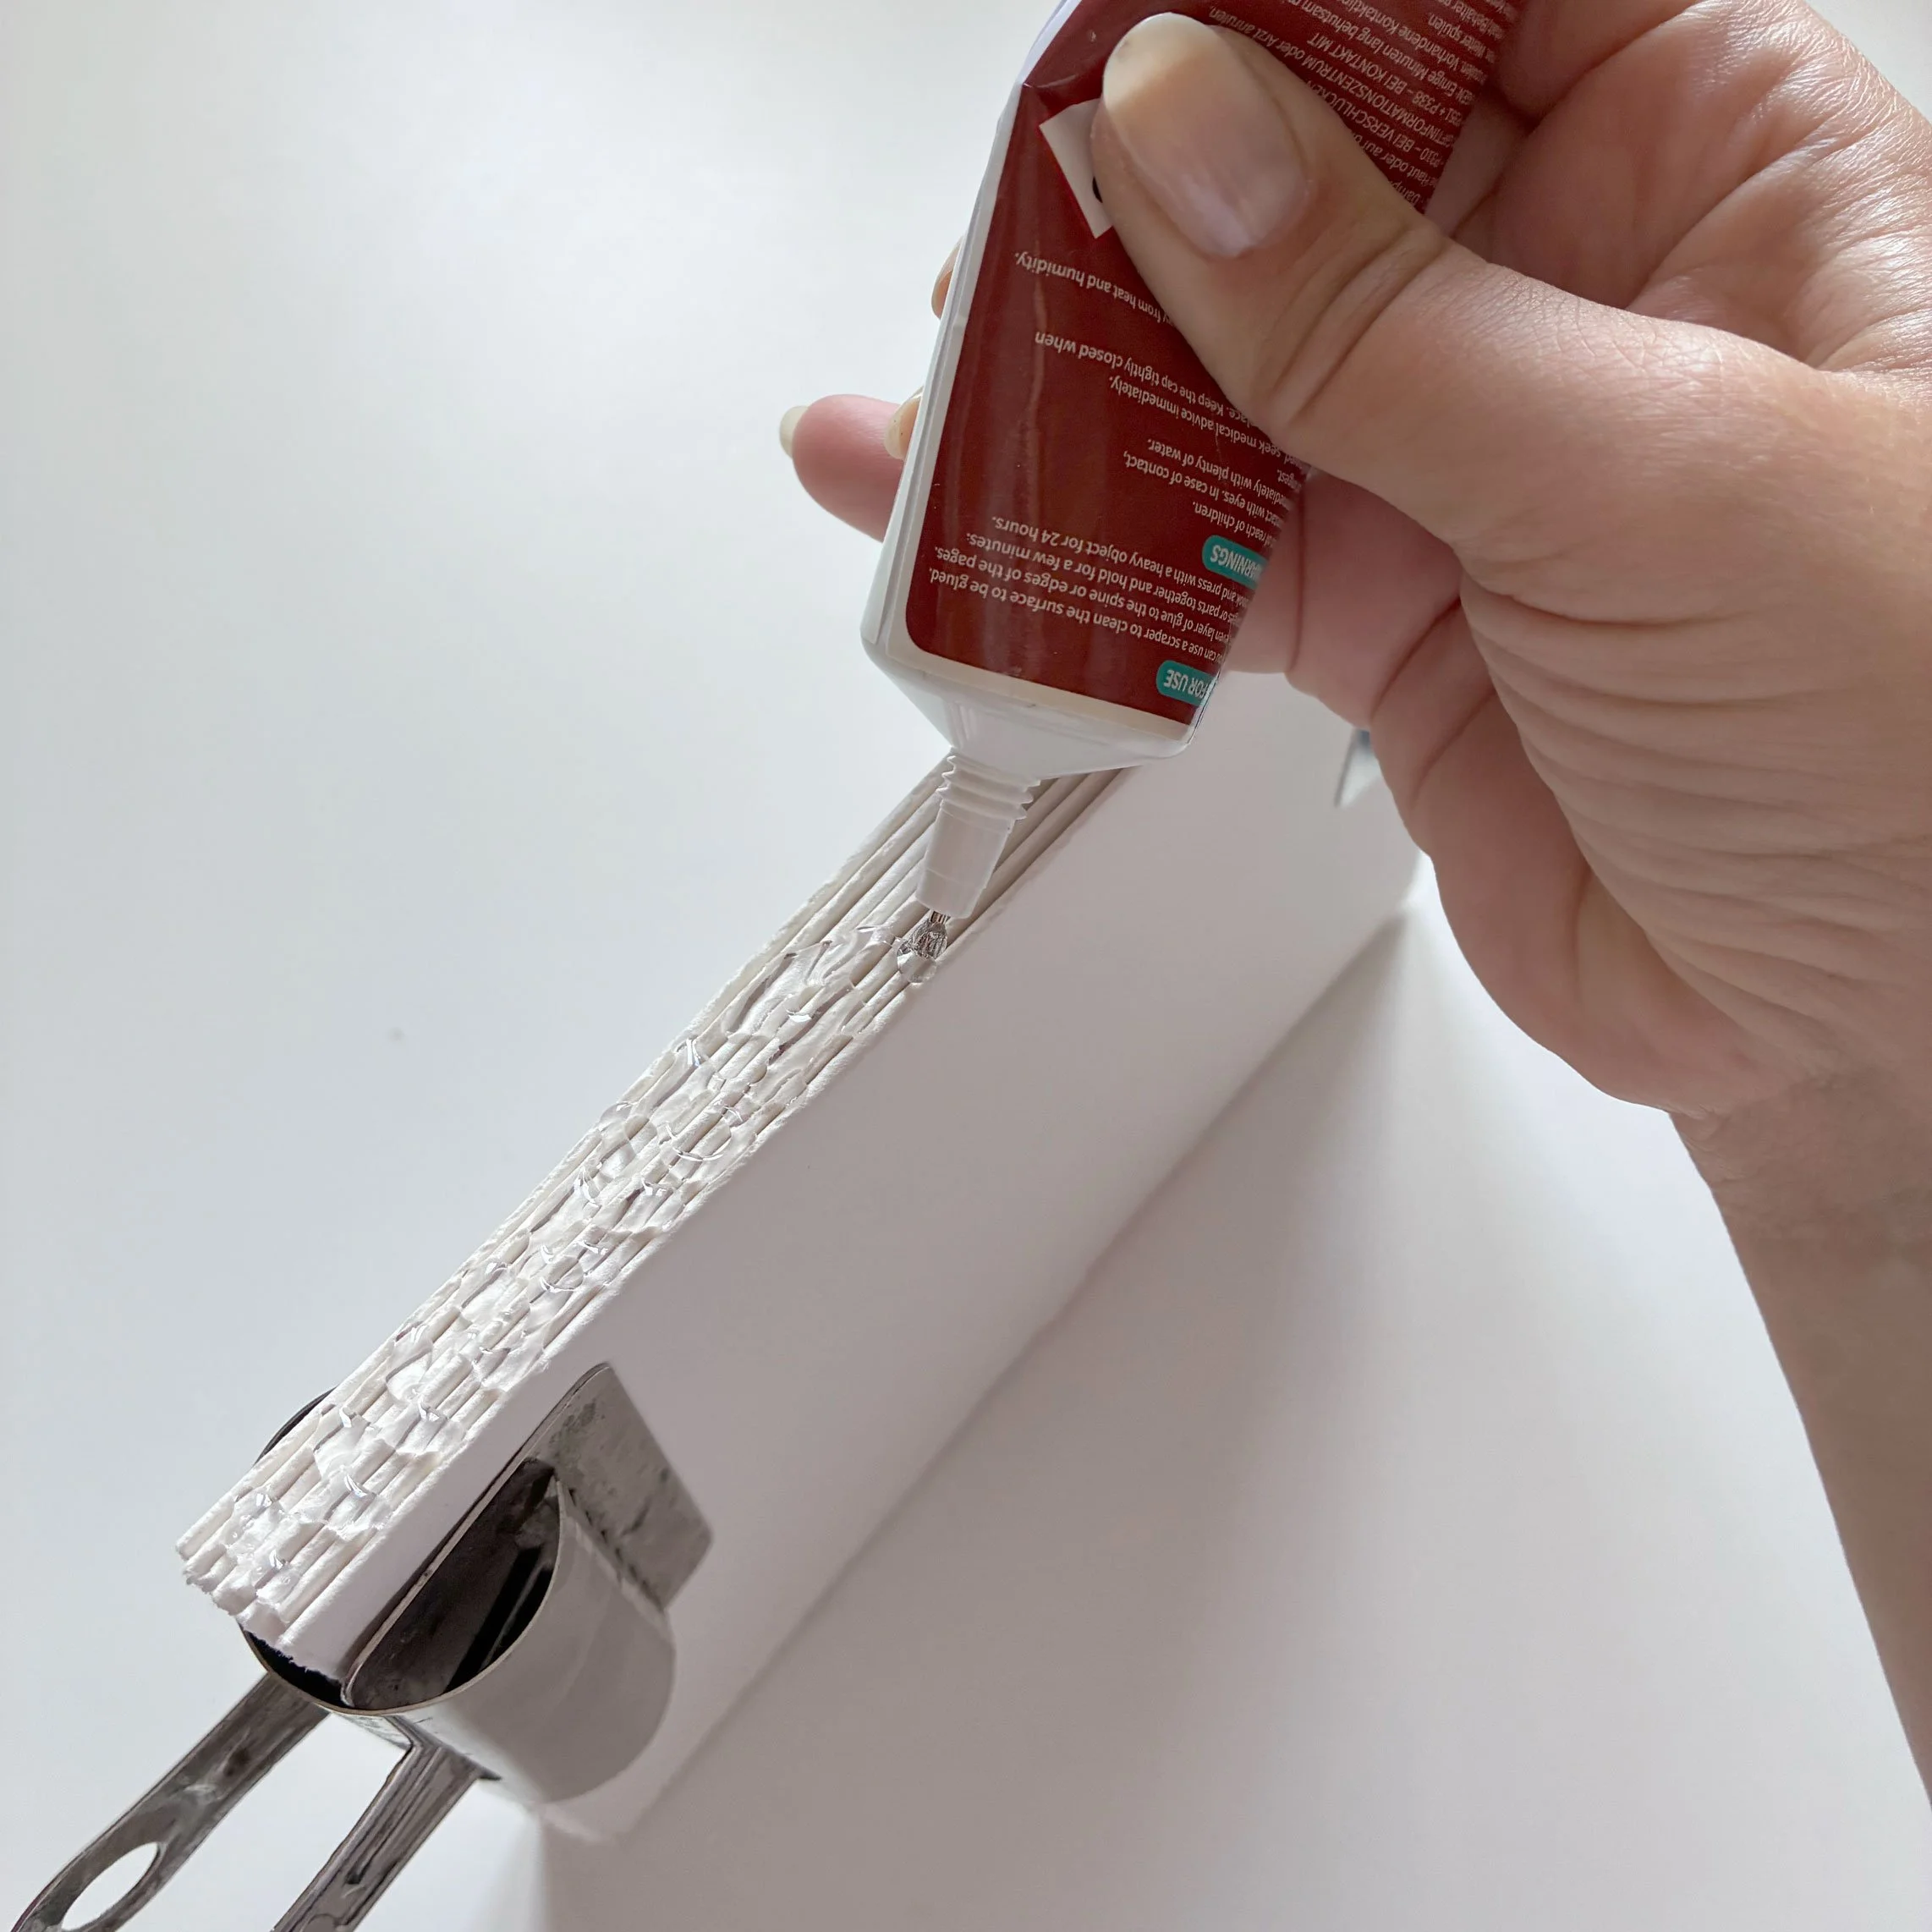
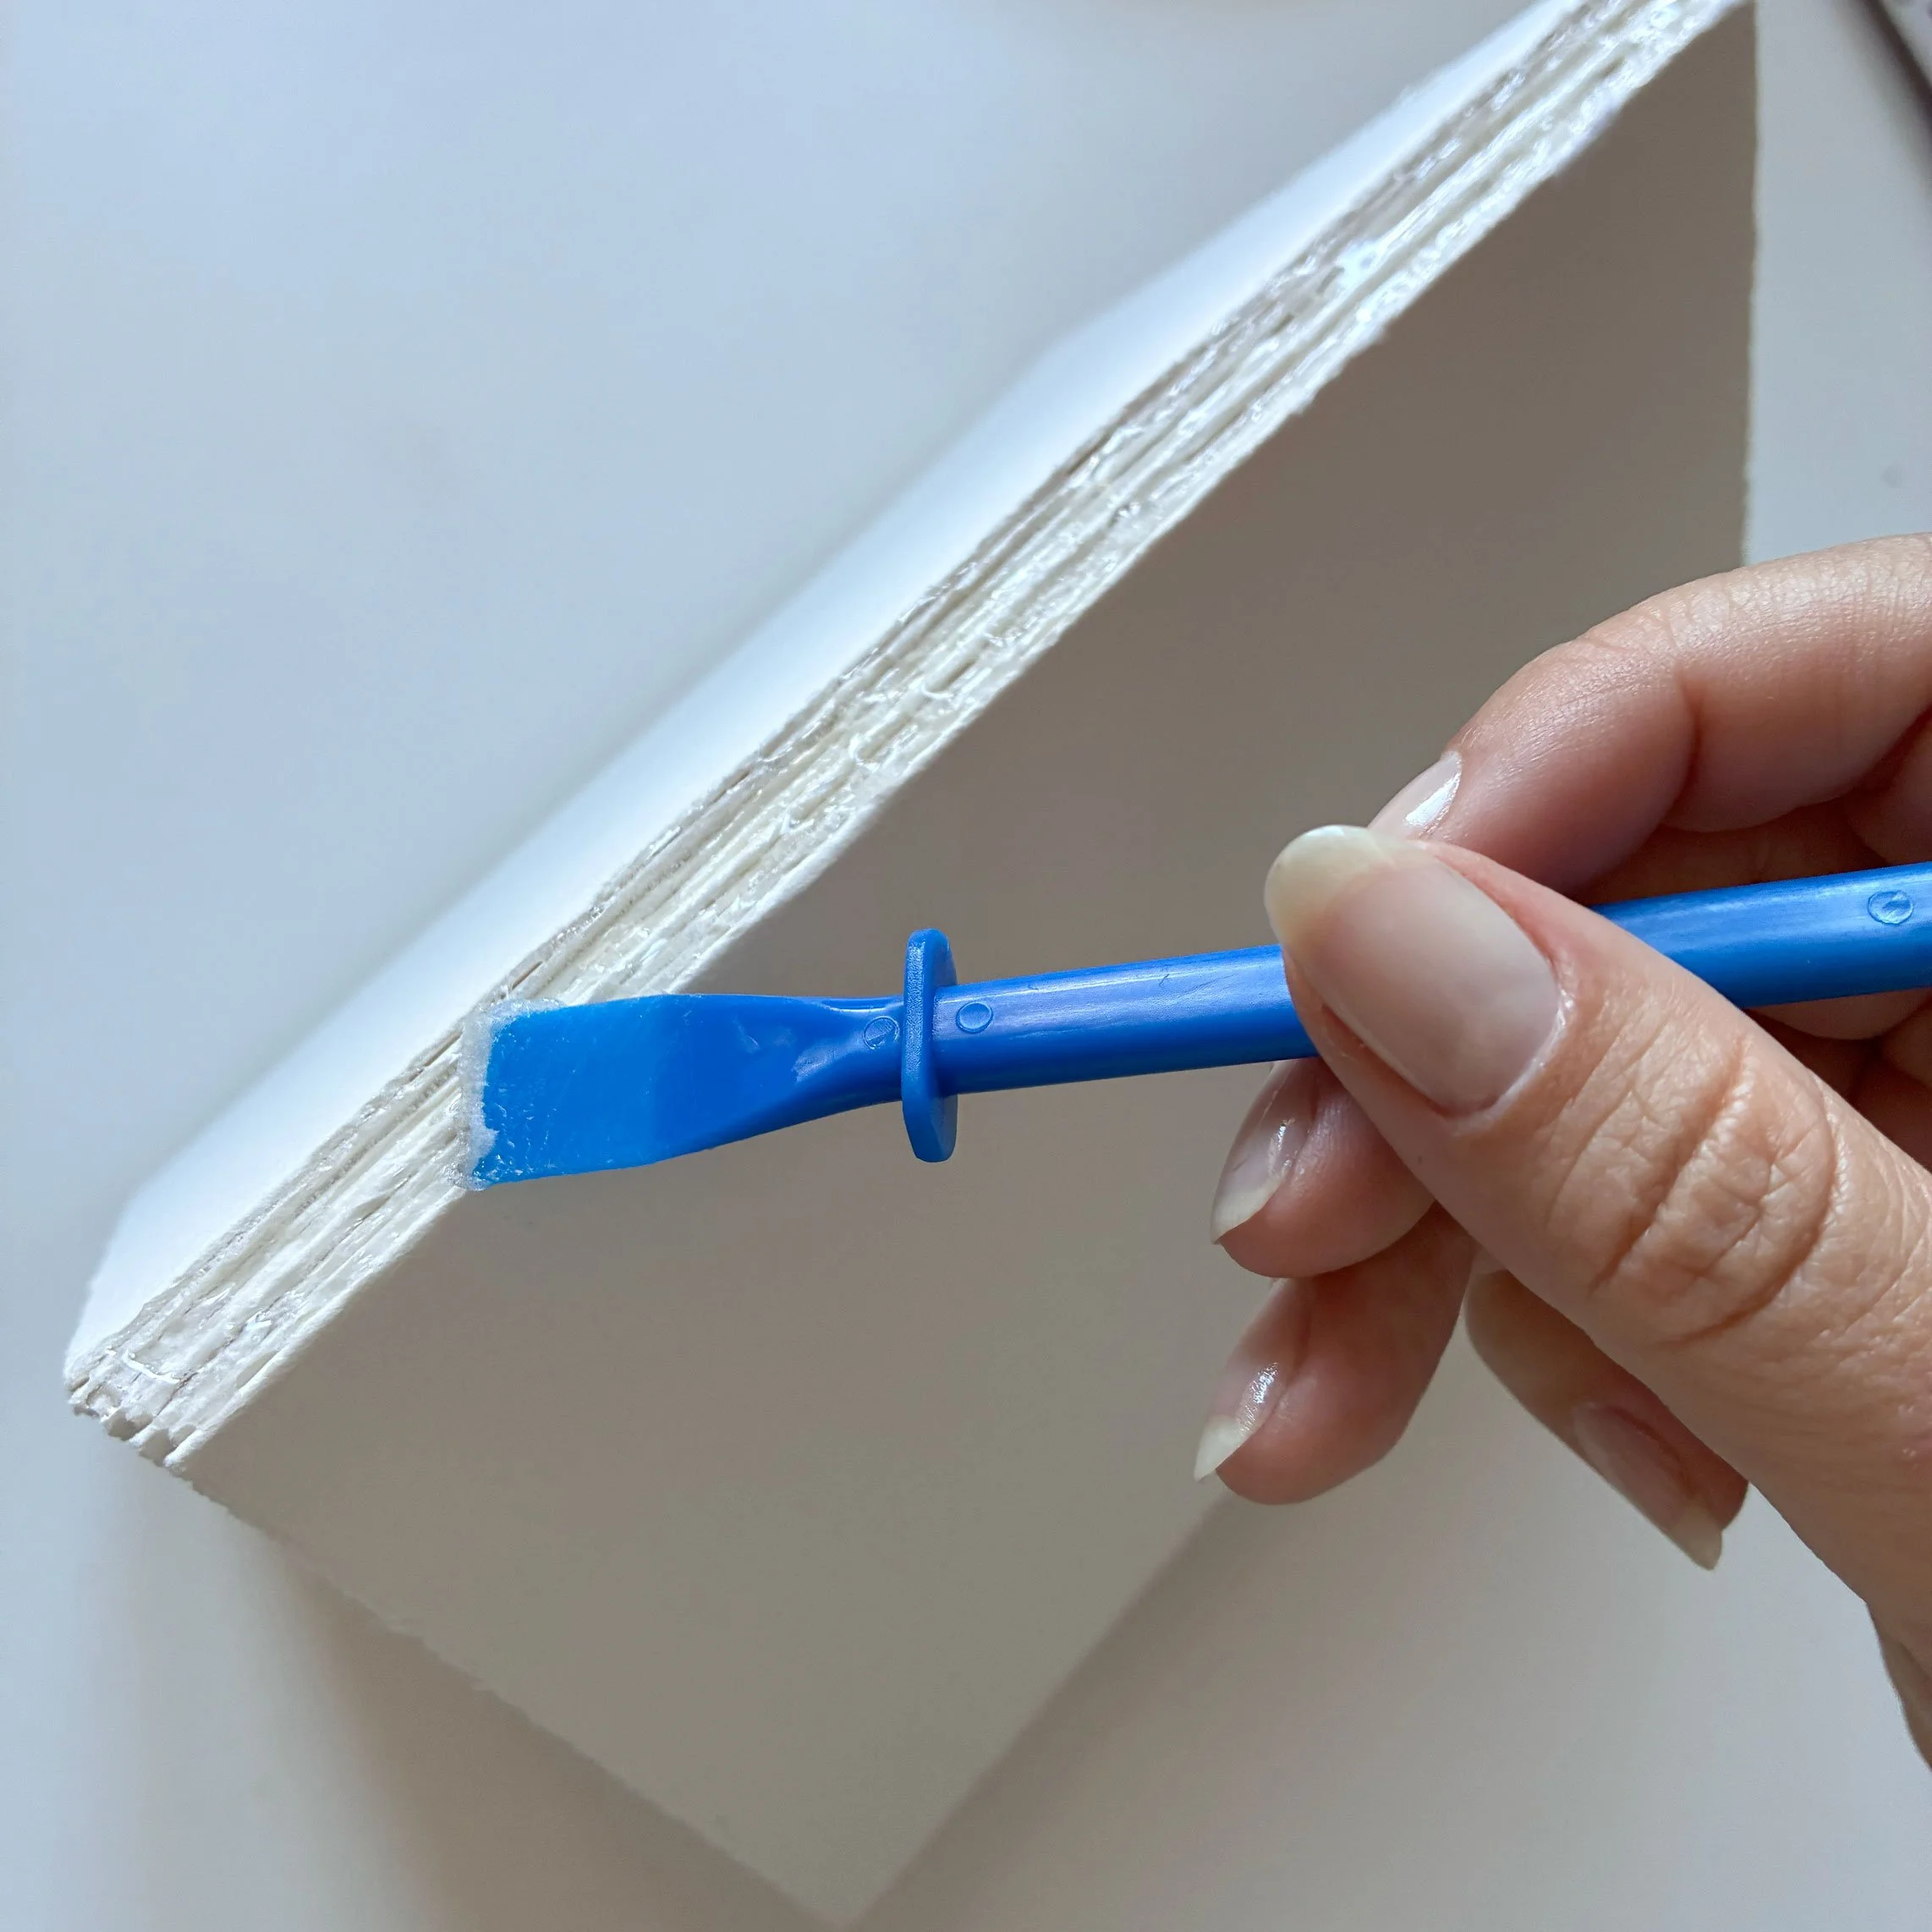
Apply bookbinding glue along the spine by squeezing glue and spread it evenly using applicator that came with it, you can also use an old brush.
Step 7
Remove the clips and quickly place a stack of books on top. I like to use scrap paper underneath and between the sketchbook and the books to protect everything from glue.
Leave it to dry for about an hour, although my motto is always: better longer than shorter.
Step 8
Once dry, apply a second layer of glue, making sure to get into any creases you might have missed. Then let it dry again under the stack of books.
Step 9
When the glue is completely dry, apply bookbinding tape along the spine for a cleaner finish.
At this stage, the sketchbook is already fully usable and honestly, that’s often enough for me.
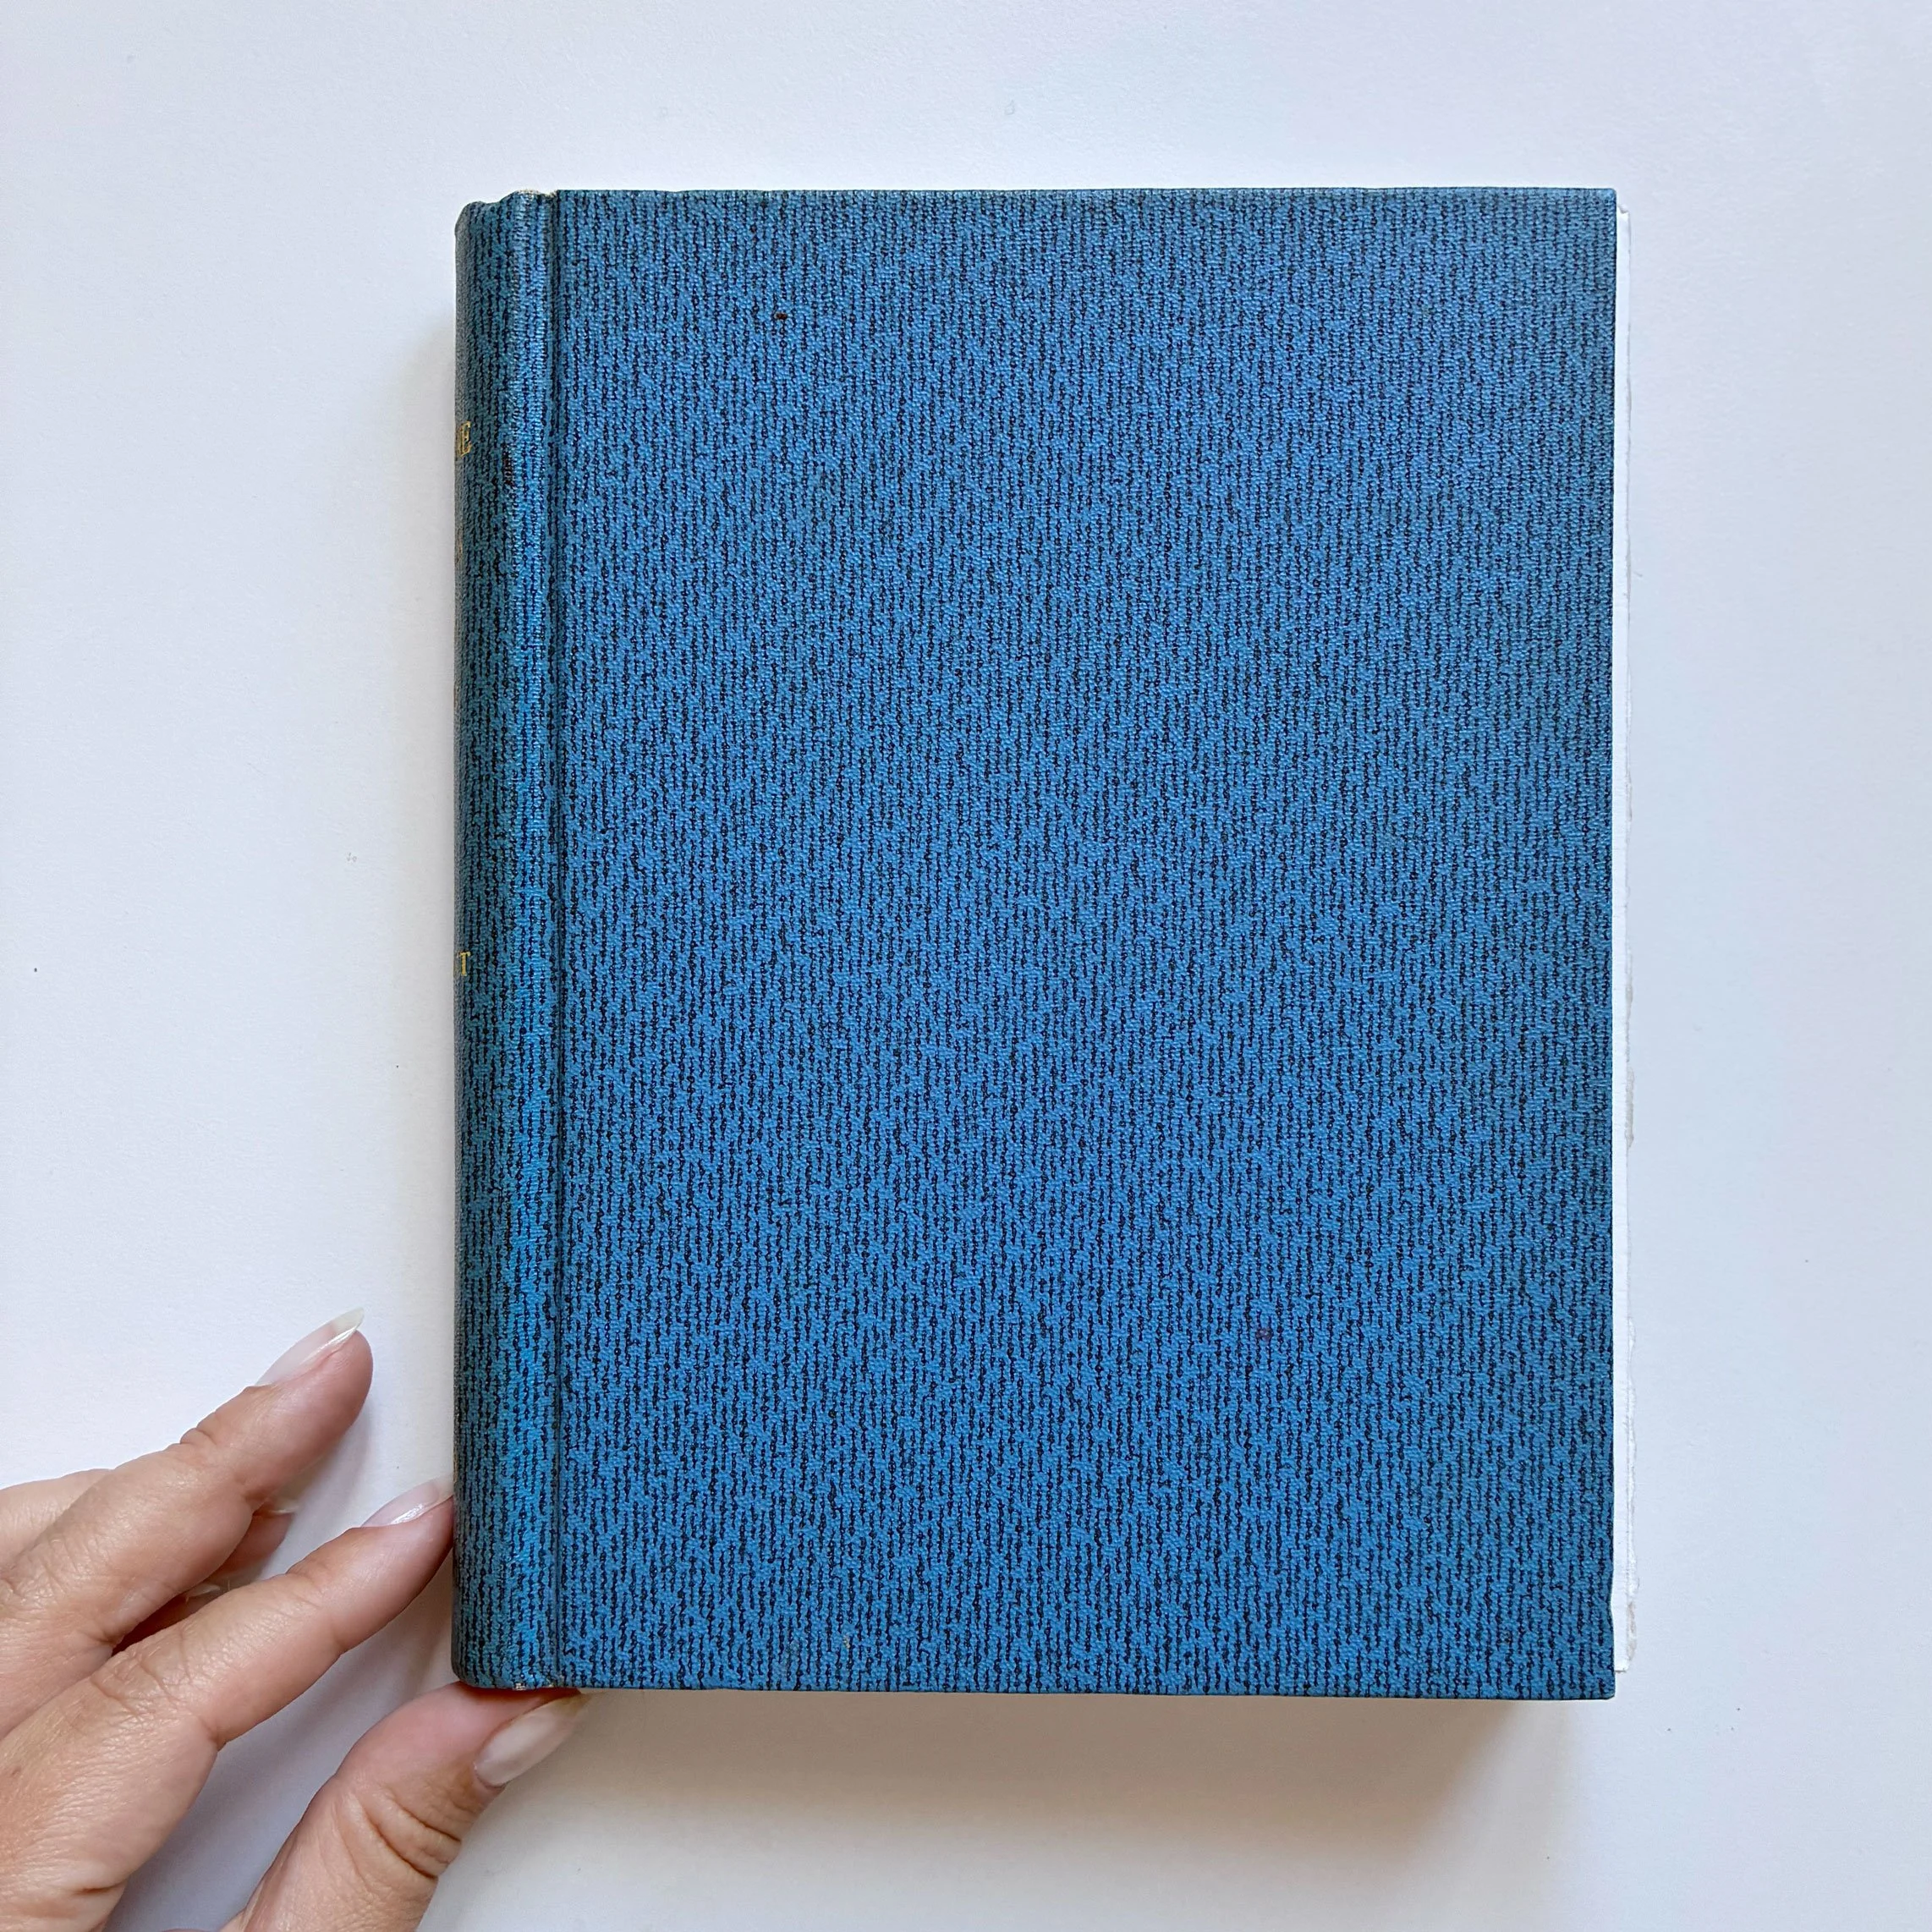
I went a step further with one of my sketchbooks and created a cover by repurposing an old book. I brought my pages to a second-hand bookshop and “tried” them inside different covers until I found one that fit.
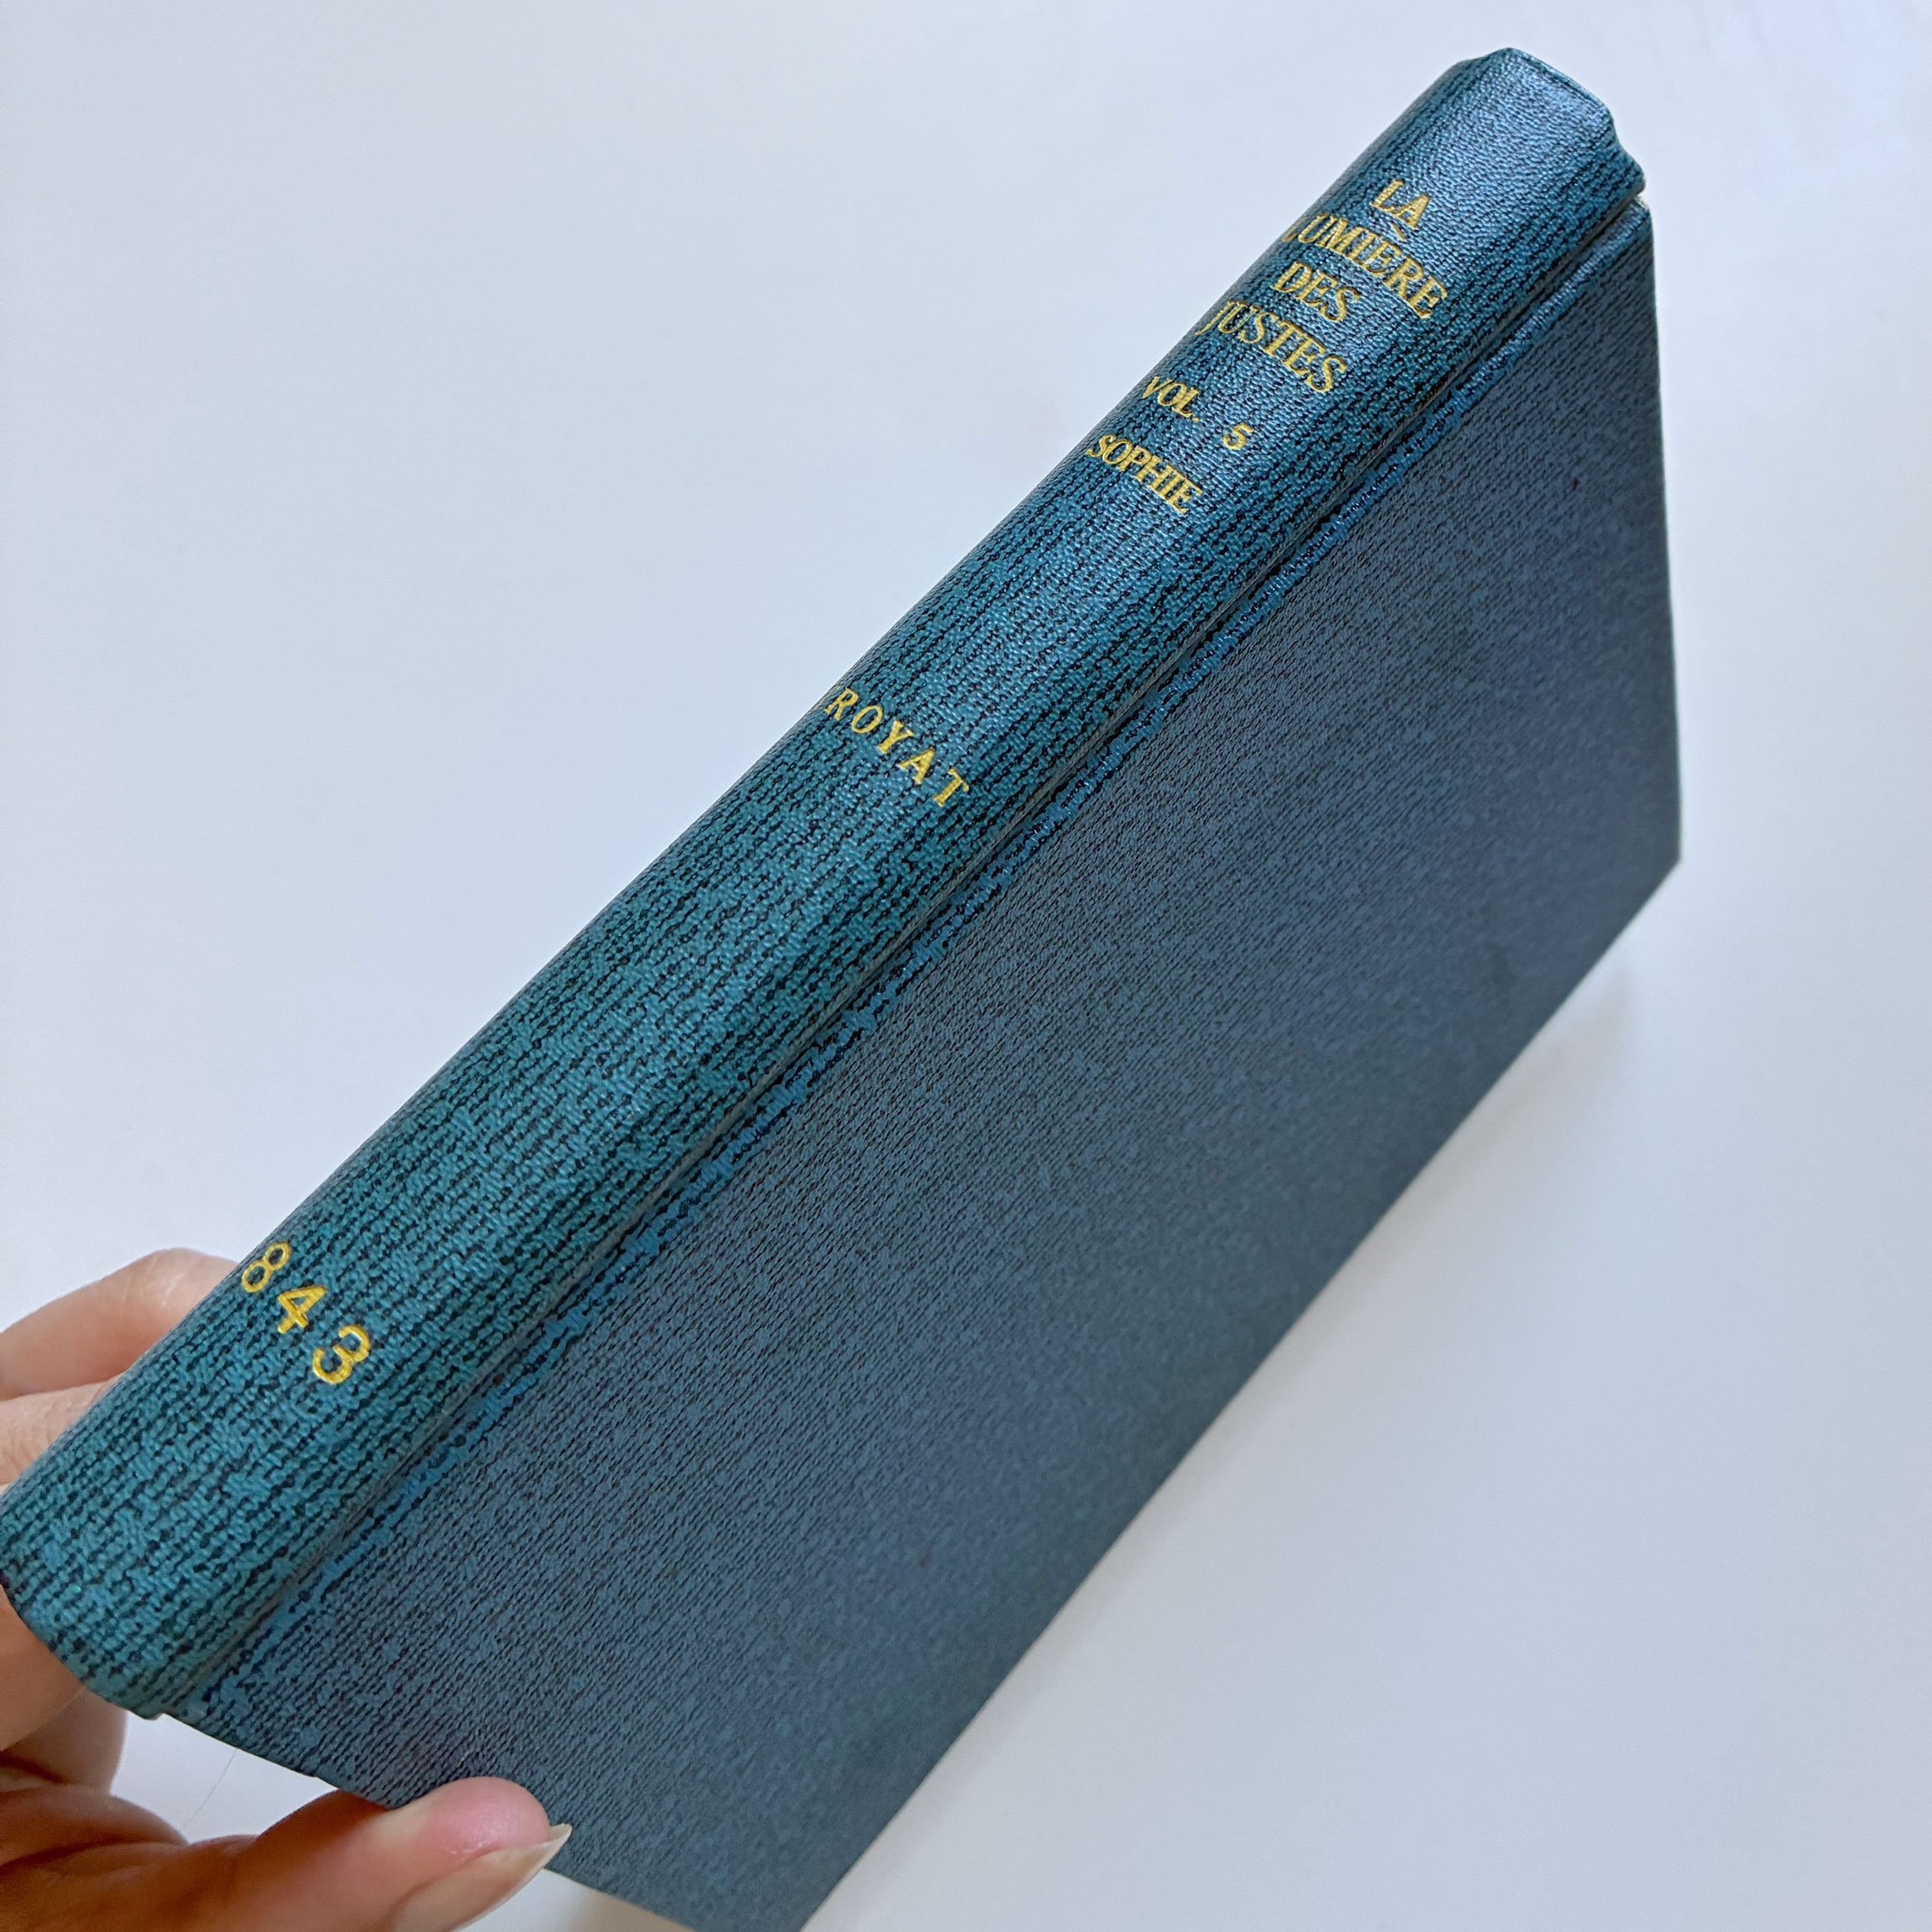

To attach the cover, I used extra folded sheets (not watercolour paper). I can’t stand the idea of using my precious watercolour paper just to glue it down instead of painting on it.
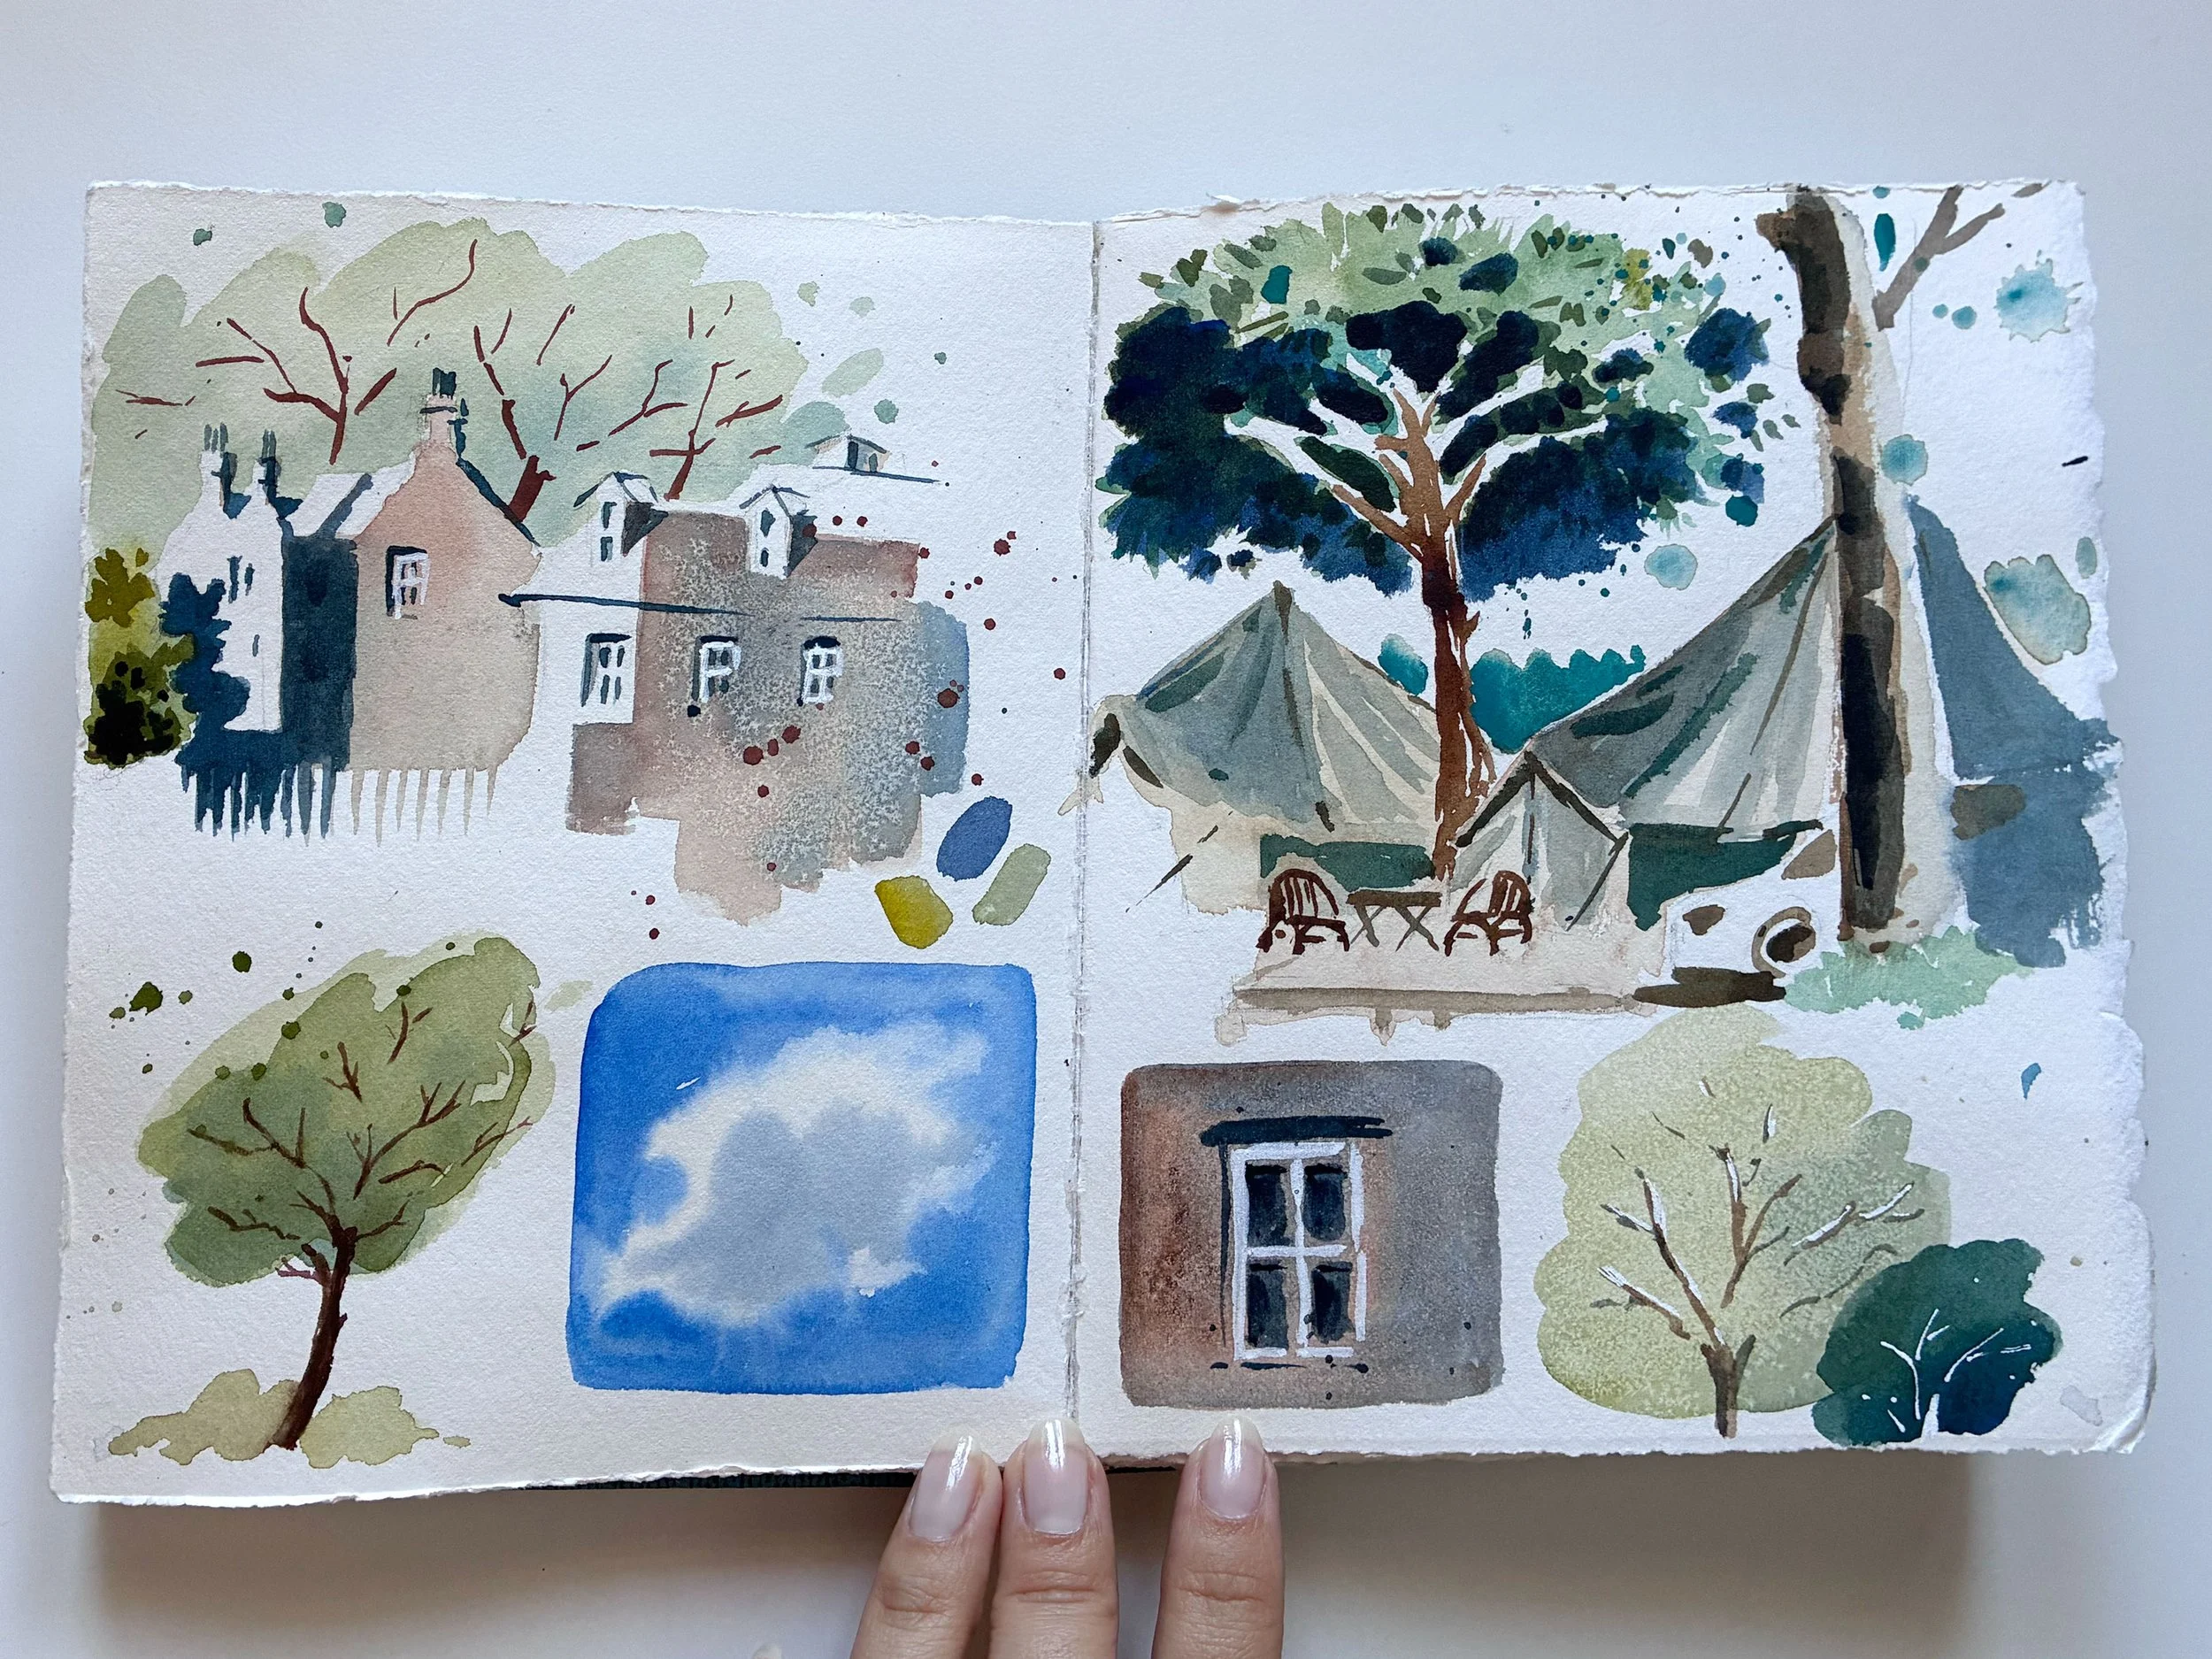
This is a spread with a glue between pages and ‘wrong’ side of the paper
This is a spread with a fold, ‘good’ side of the paper
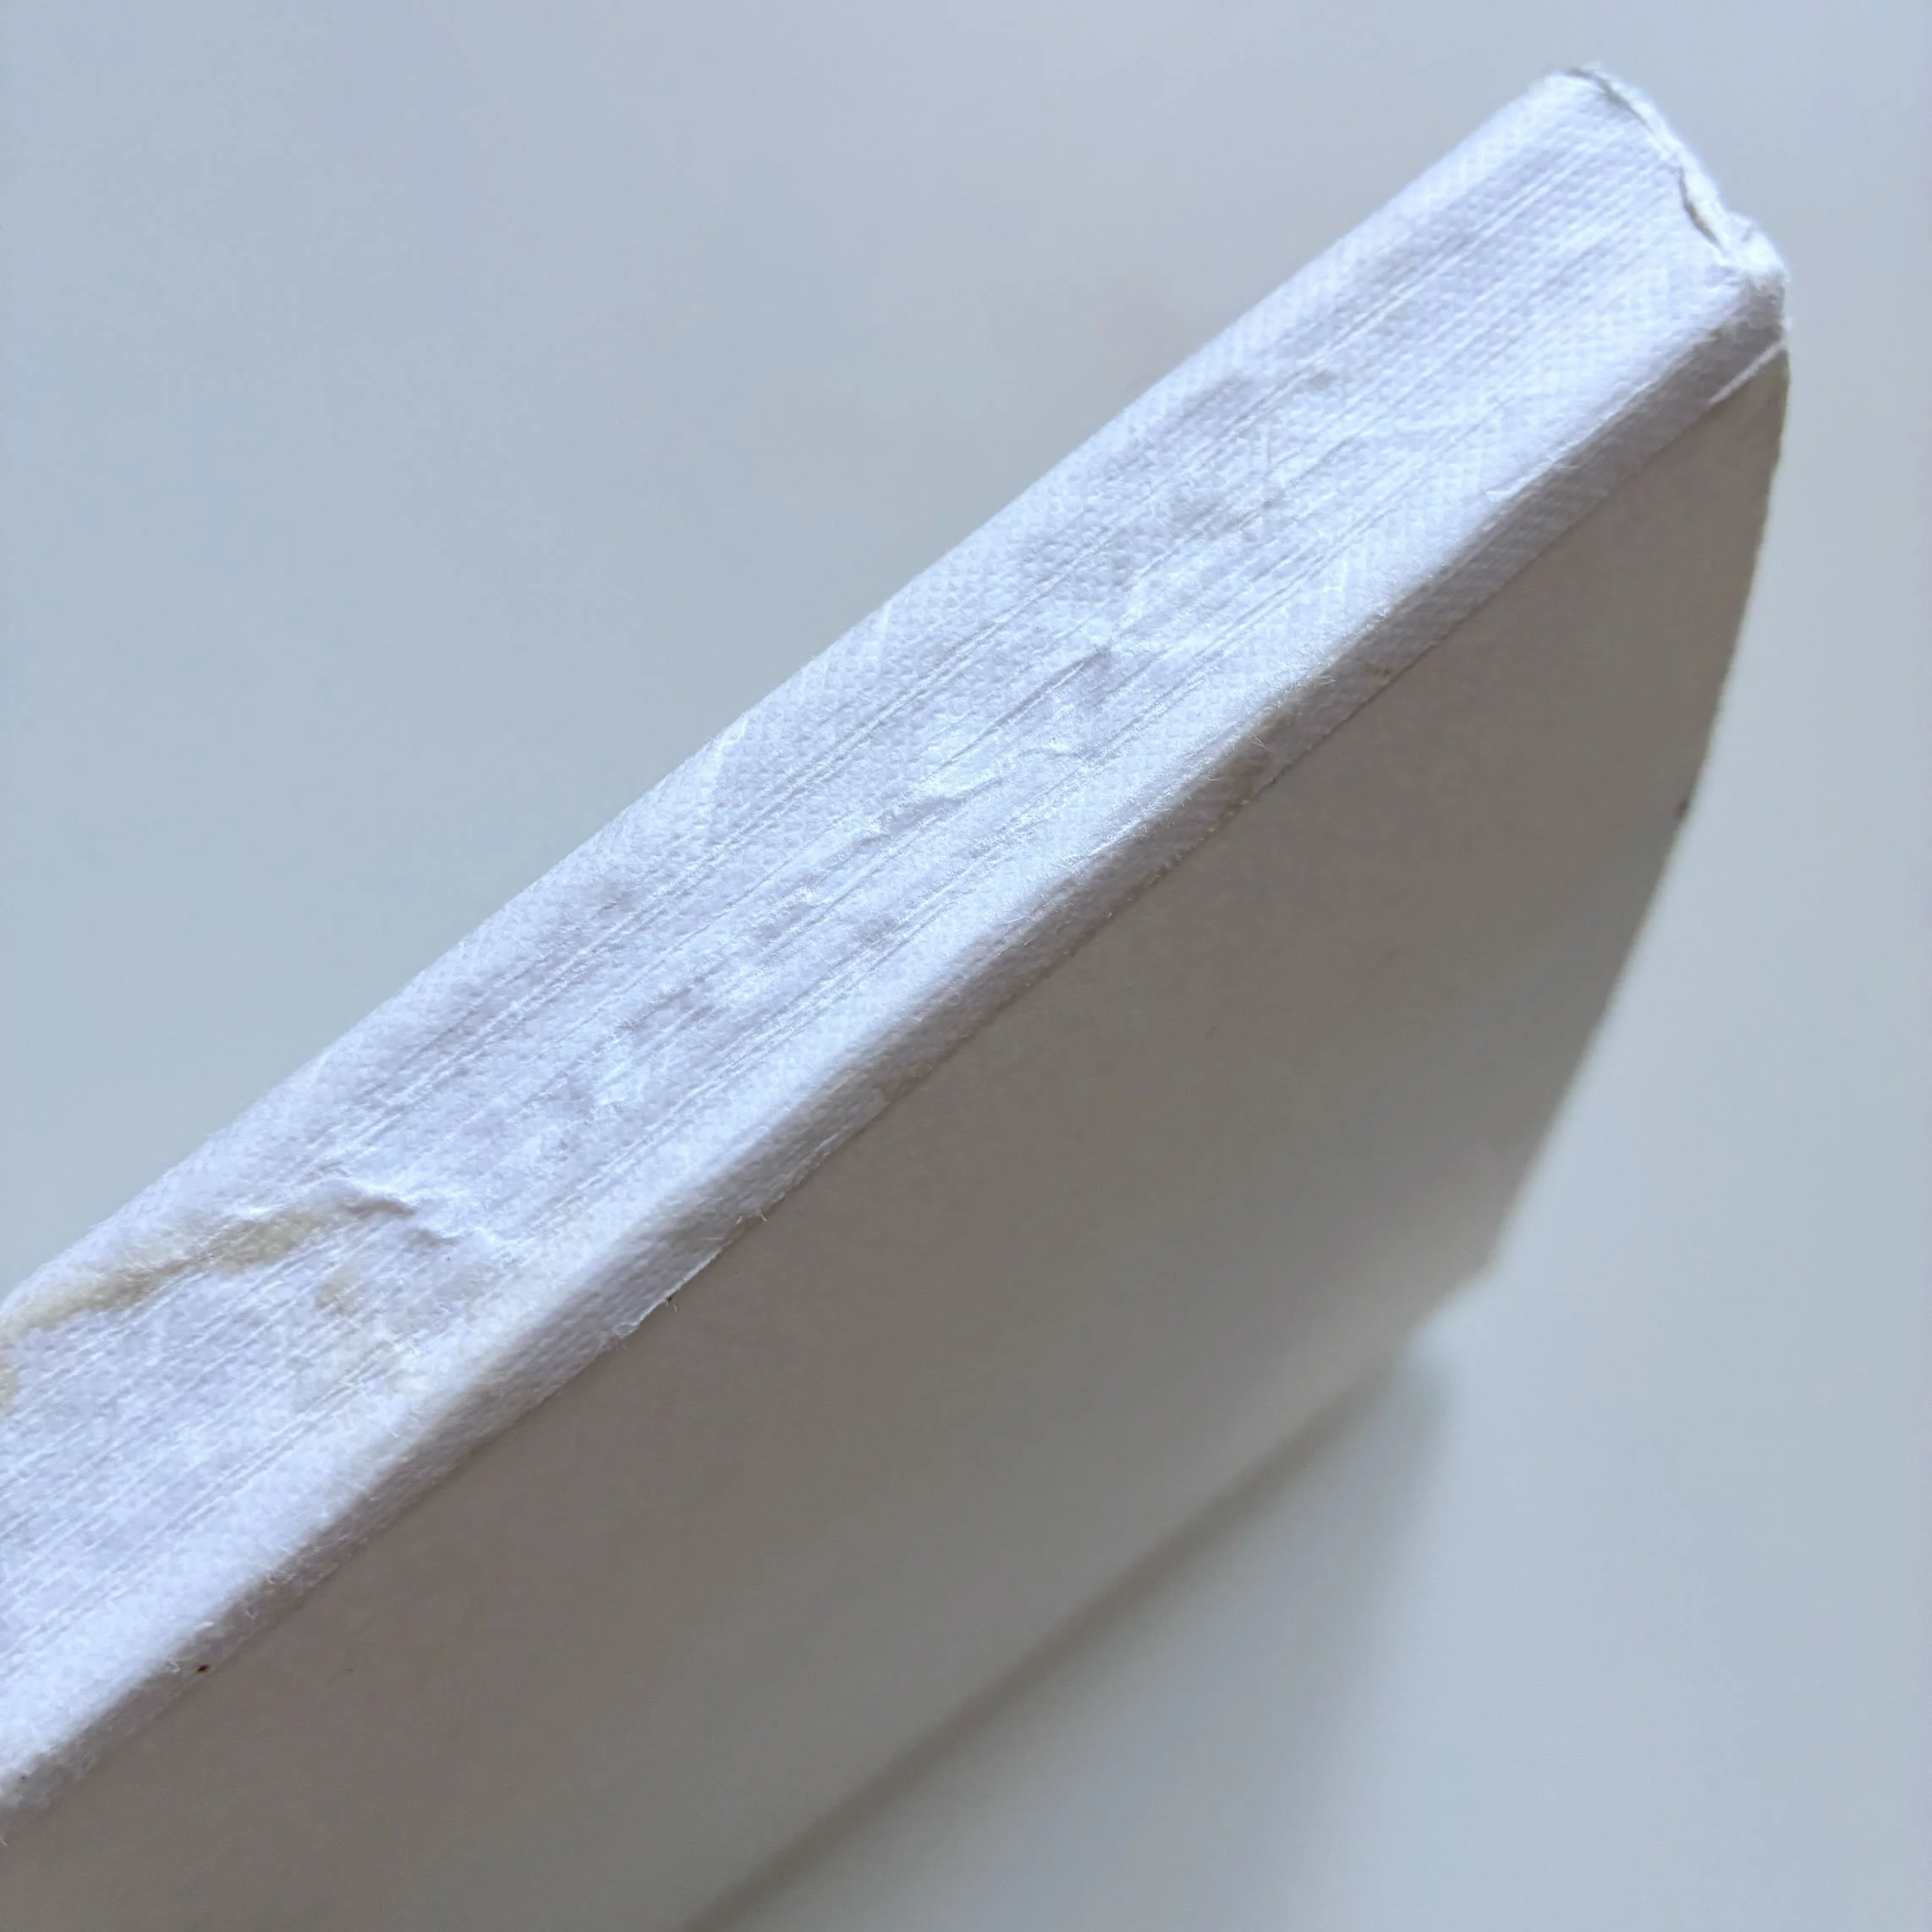
How Durable Is It?
I’ve taken these sketchbooks everywhere on my travels and haven’t been particularly careful with them and still they’ve held up beautifully. Even without stitching, the pages stay intact with no visible loosening.
Now my only challenge is the cover, what to use when I can’t find the right-sized book. Making one from cardboard isn’t that difficult, but I’m always looking for a shortcut… if only so I can spend more time painting.